Choosing the right countertop material for your kitchen or bathroom remodeling project can be overwhelming. There are dozens of types, hundreds of brands, and thousands of colors – it’s no wonder people go into “analysis paralysis” when it comes to finding the best countertop for their home.
How to Choose a Countertop
Before you go down any rabbit holes, take stock of what you already have, and what you dislike about it. Do you find that your countertop material gets easily scratched, stained, or melted? Do you cook a lot? Do you have children? Do you entertain? Are you looking for low maintenance? Is it important that the countertops be the focal point of your kitchen, or should they play a supporting role to the cabinetry or backsplash? The answers to these questions will help you begin to identify which factors and features are most important to you, besides finding something that’s aesthetically attractive.
The most efficient way to narrow it down is to start with the type that would suit your lifestyle best. While we aren’t going to cover every countertop material, this is what our Charlotte area clients are loving at the moment:
Quartz Countertops (sometimes “engineered” quartz)
Not to be confused with natural quartzite, quartz countertops are made up of a combination of ground-up natural quartz (at least 90%), that’s bound together with heavy-duty resin and pigment. High-quality quartz countertops are non-porous, meaning they won’t stain, they don’t require chemical sealing, and they’re scratch and heat resistant. Low-quality quartz countertops are not non-porous and should be avoided since the biggest reason for choosing quartz is their non-porous nature. While some manufacturers claim that it’s ok to set a hot pot directly on a quartz countertop, we would advise against it — with any countertop material except soapstone.
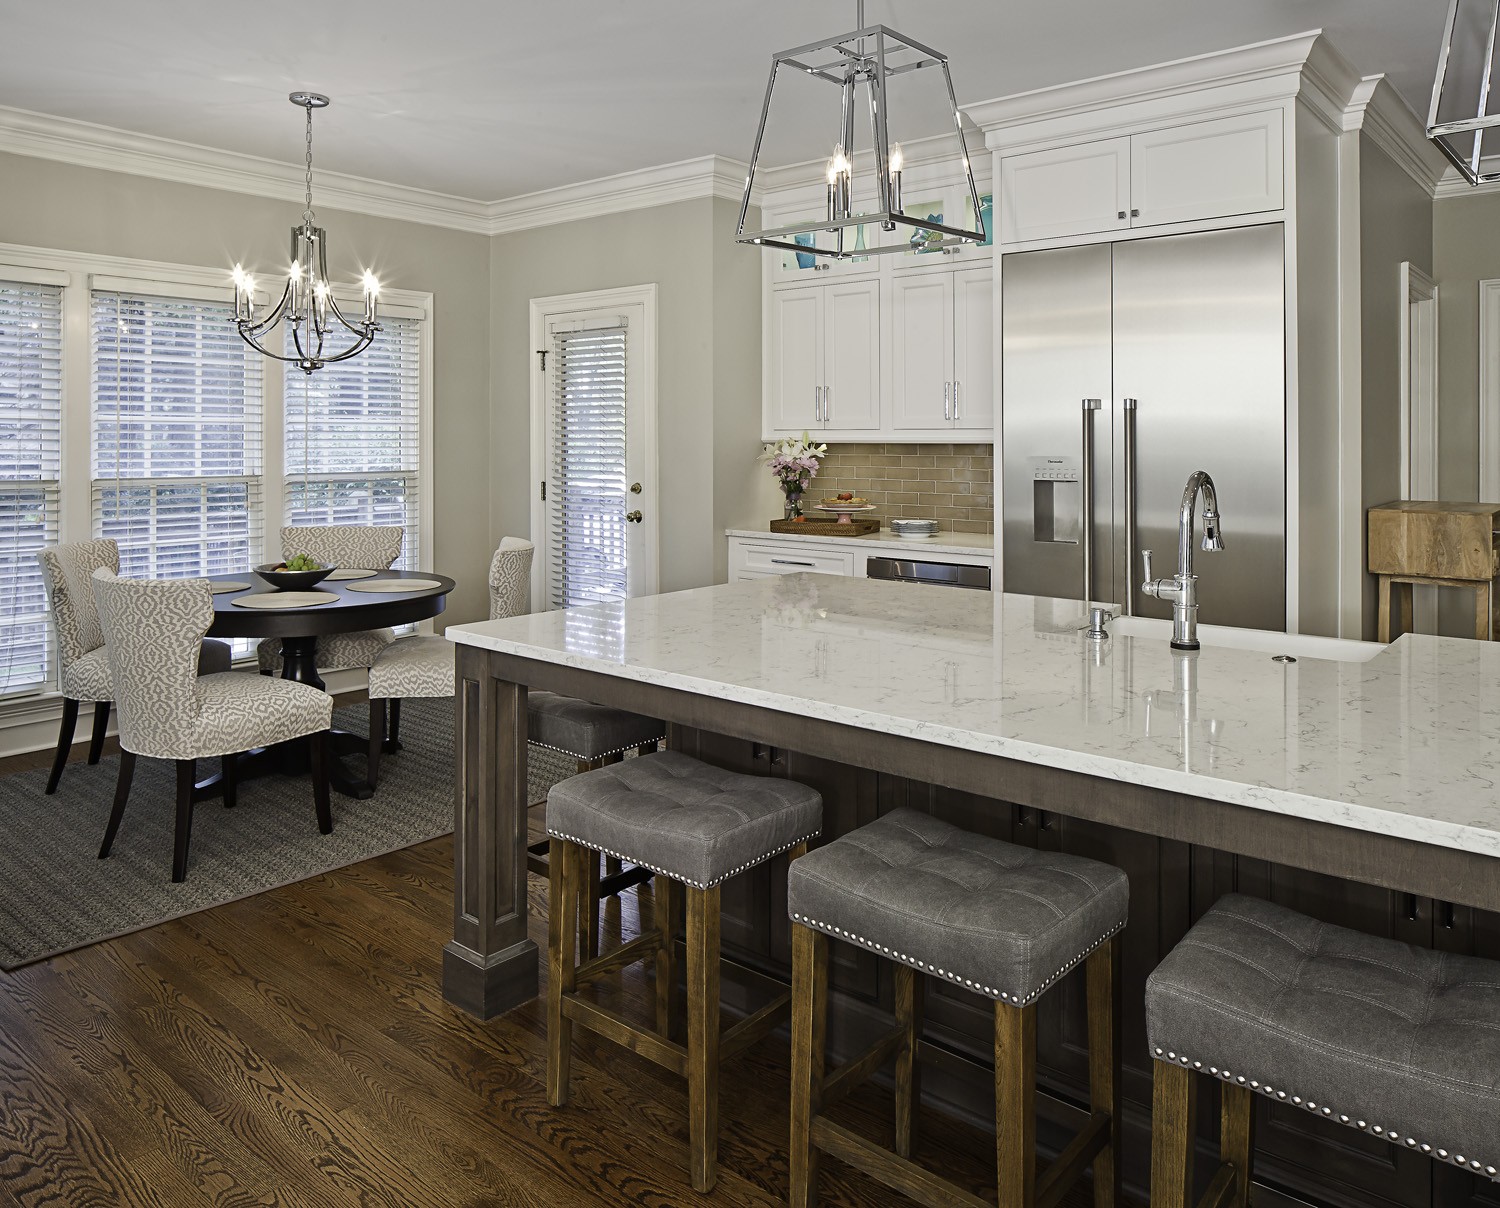
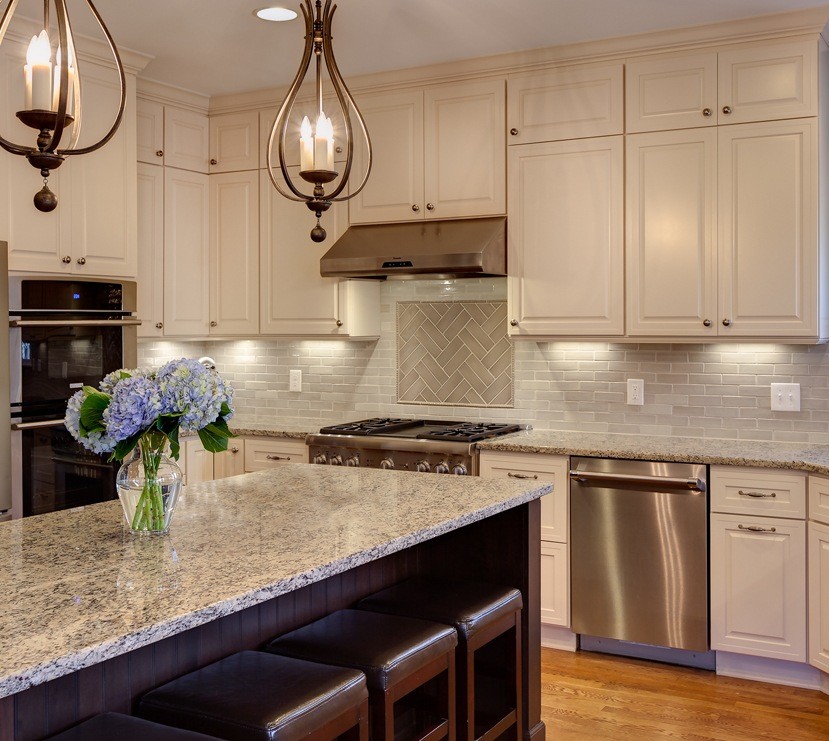
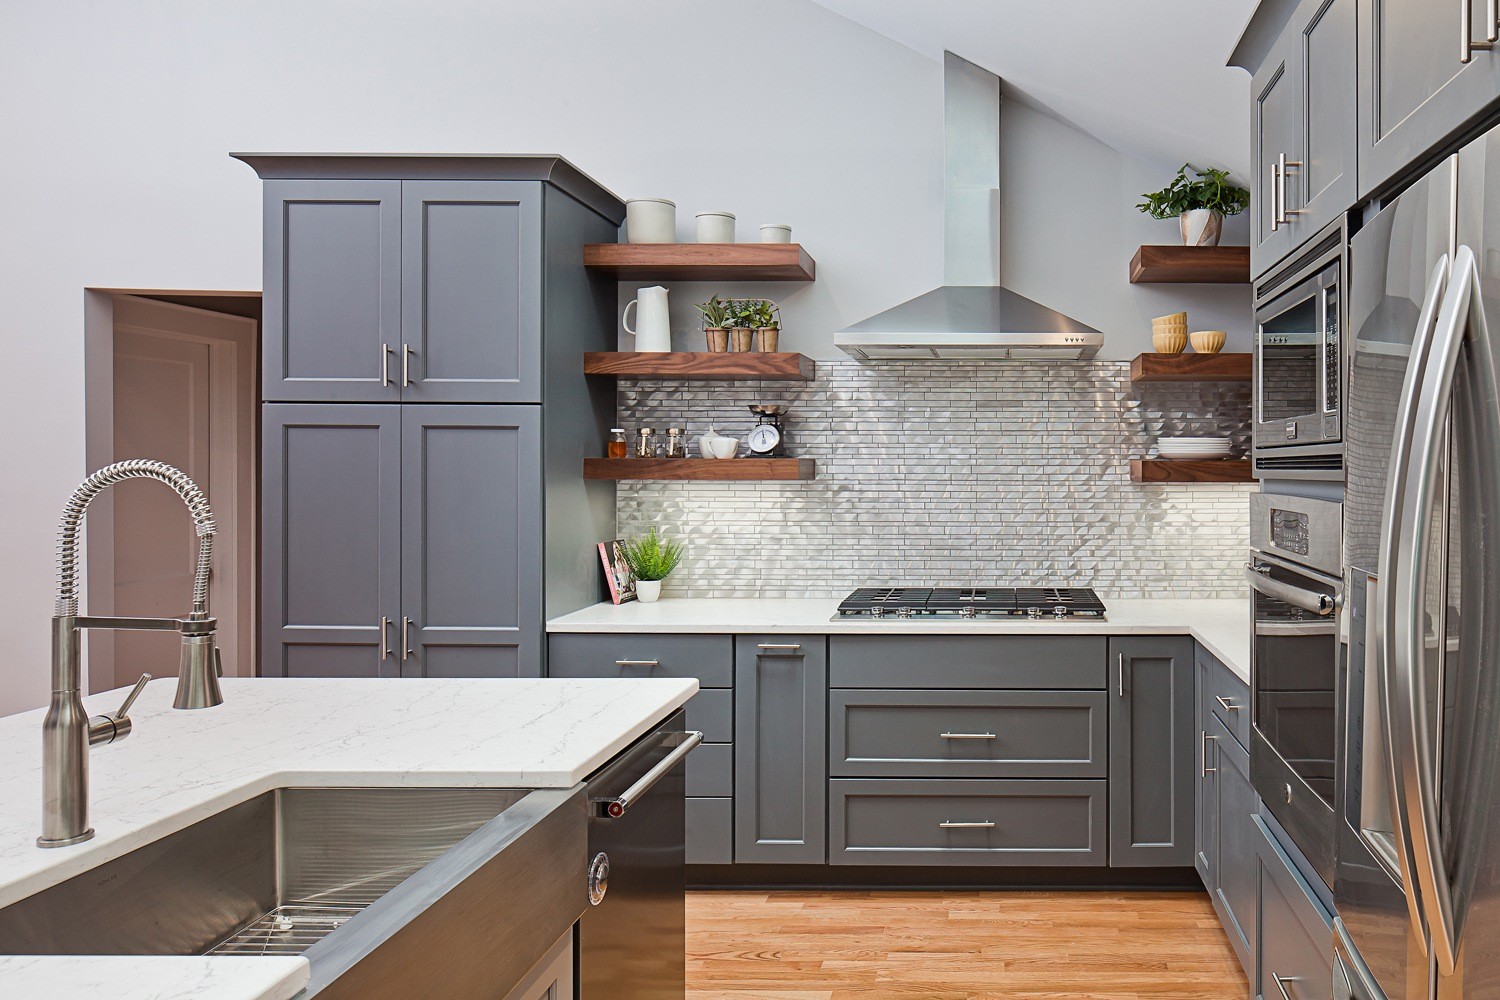
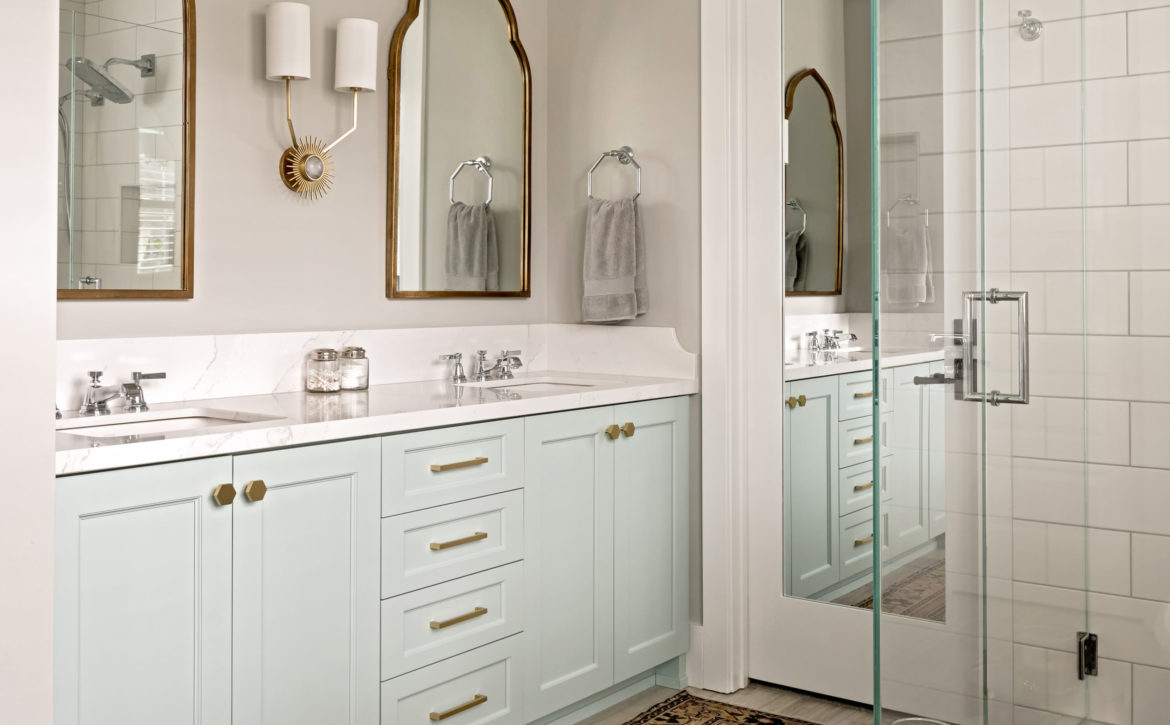
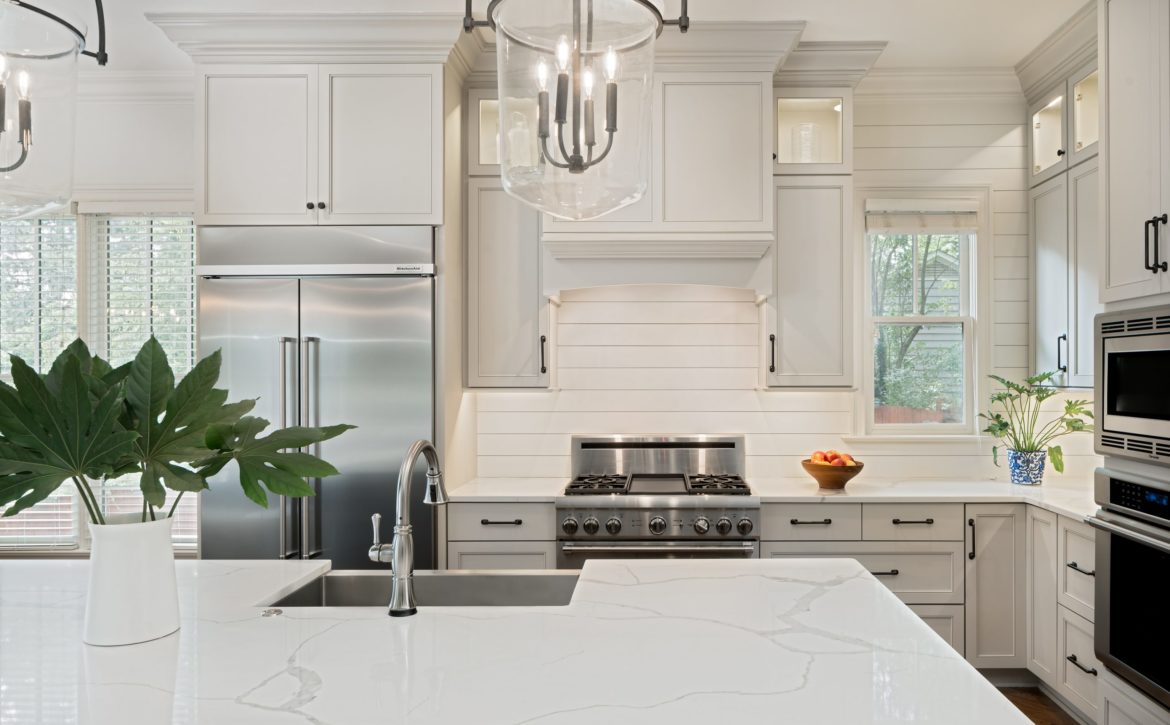
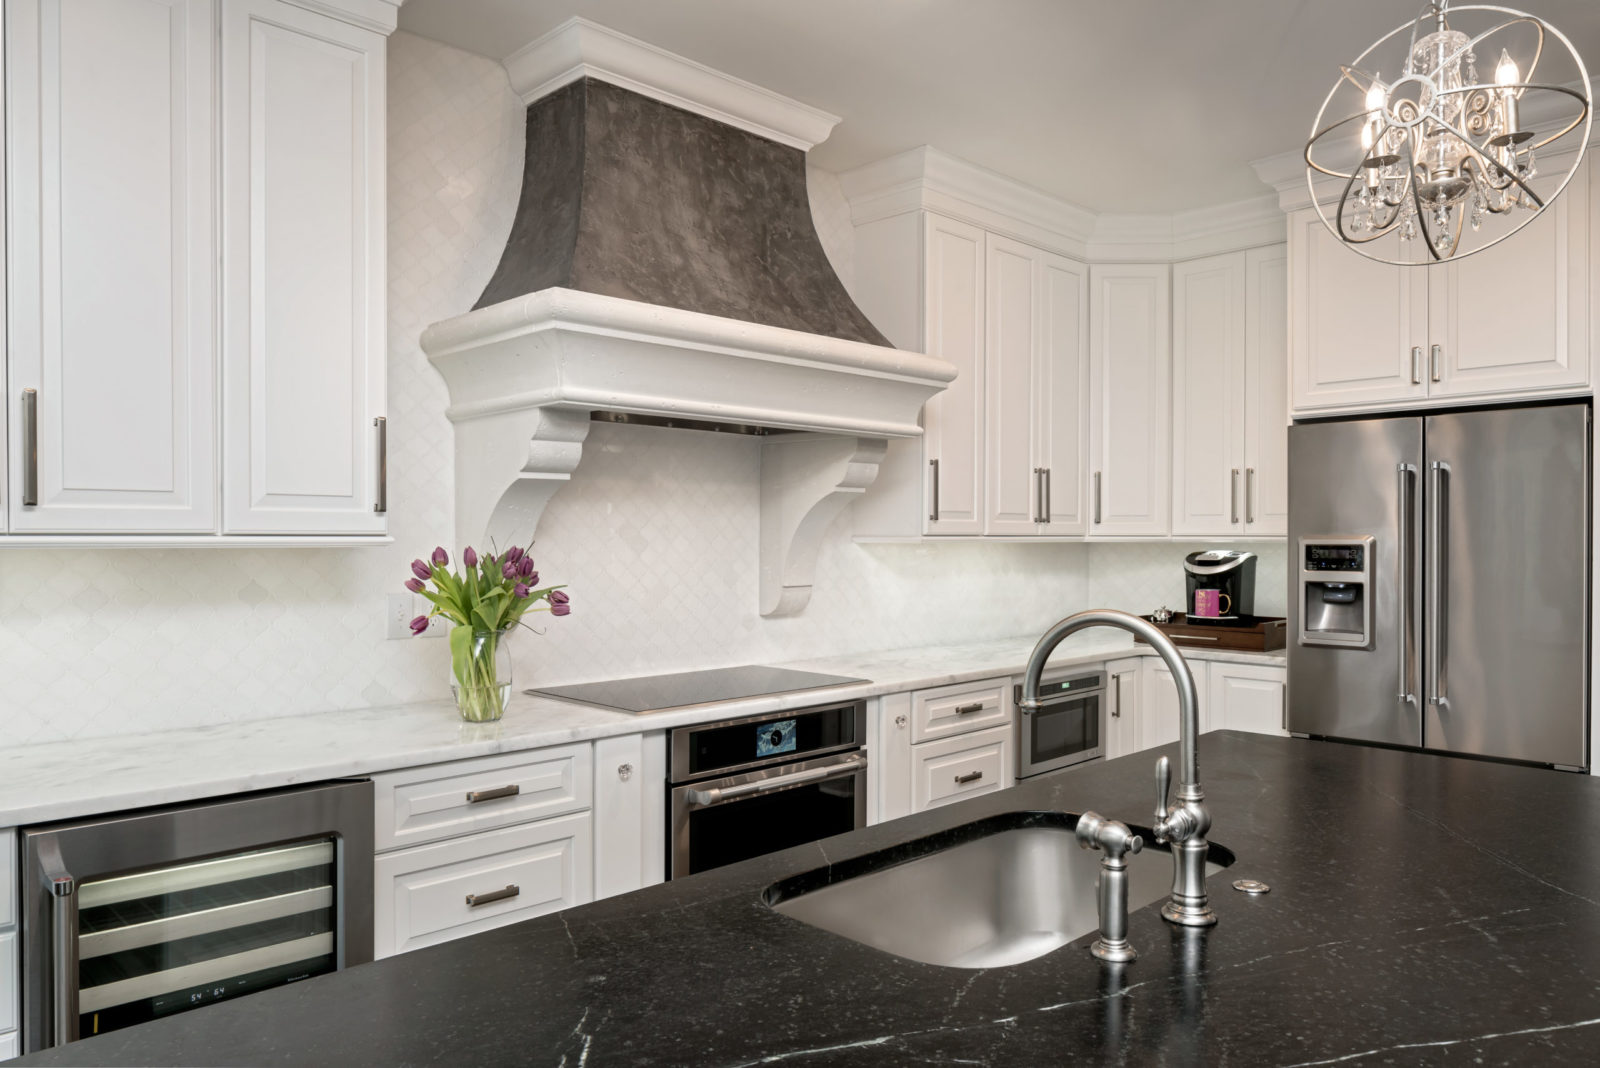
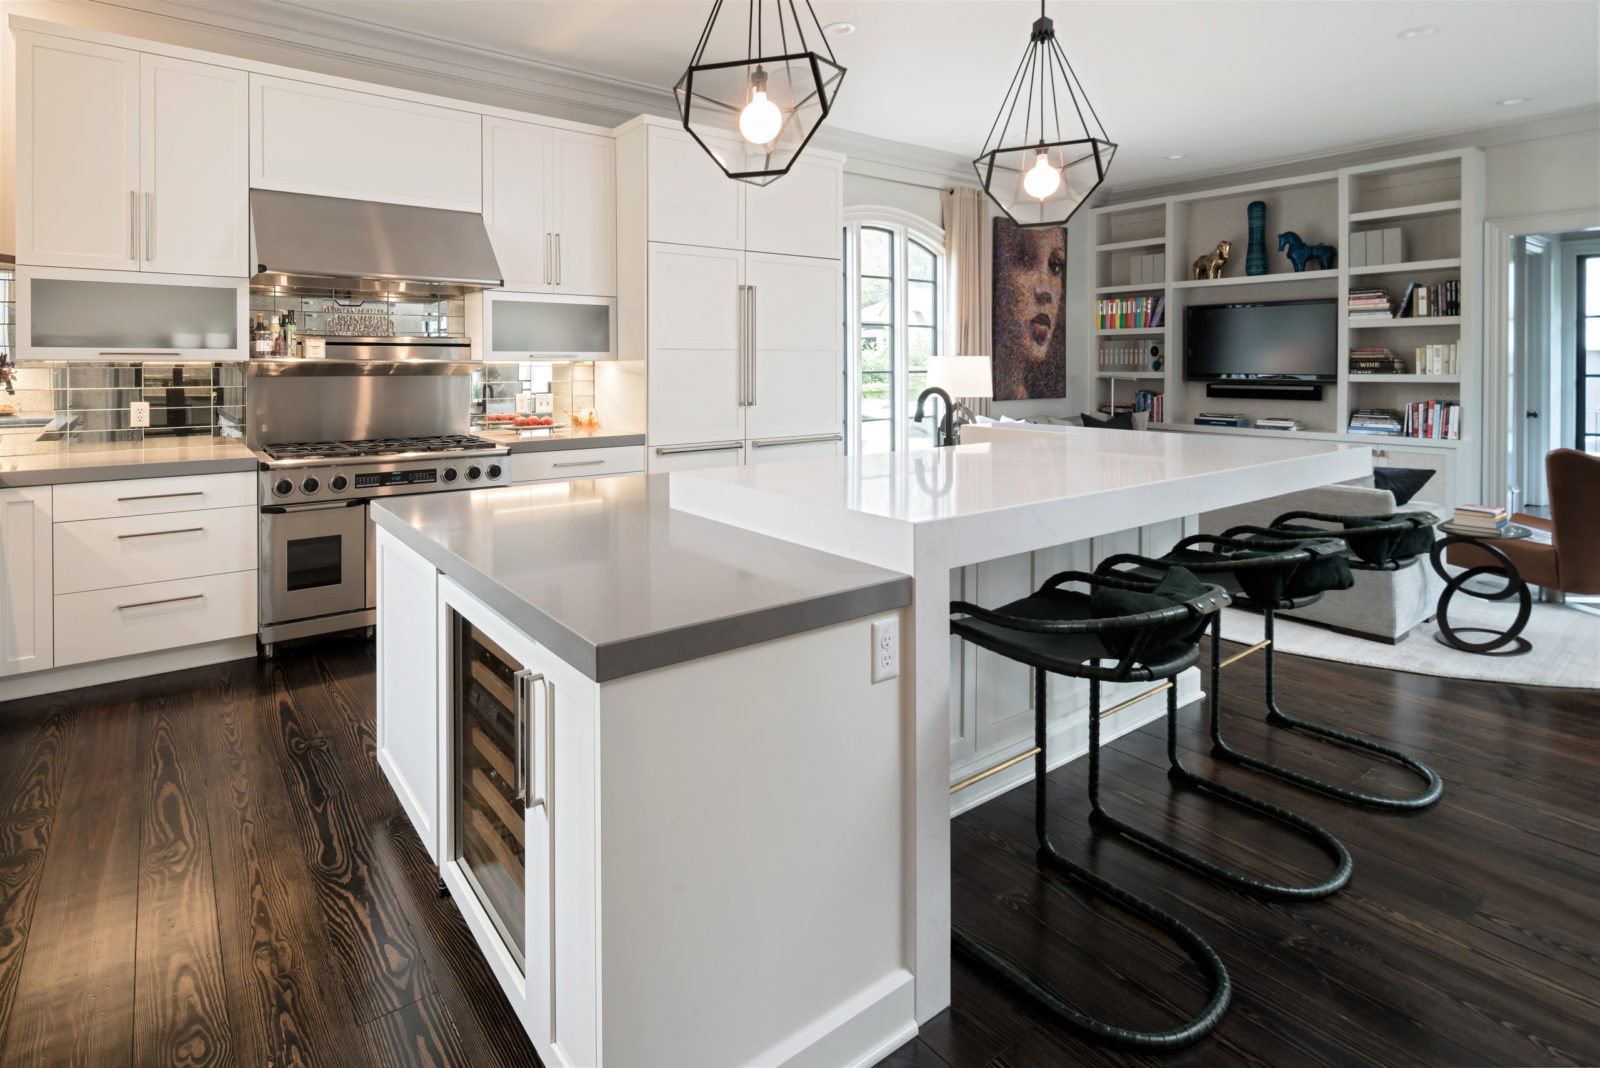
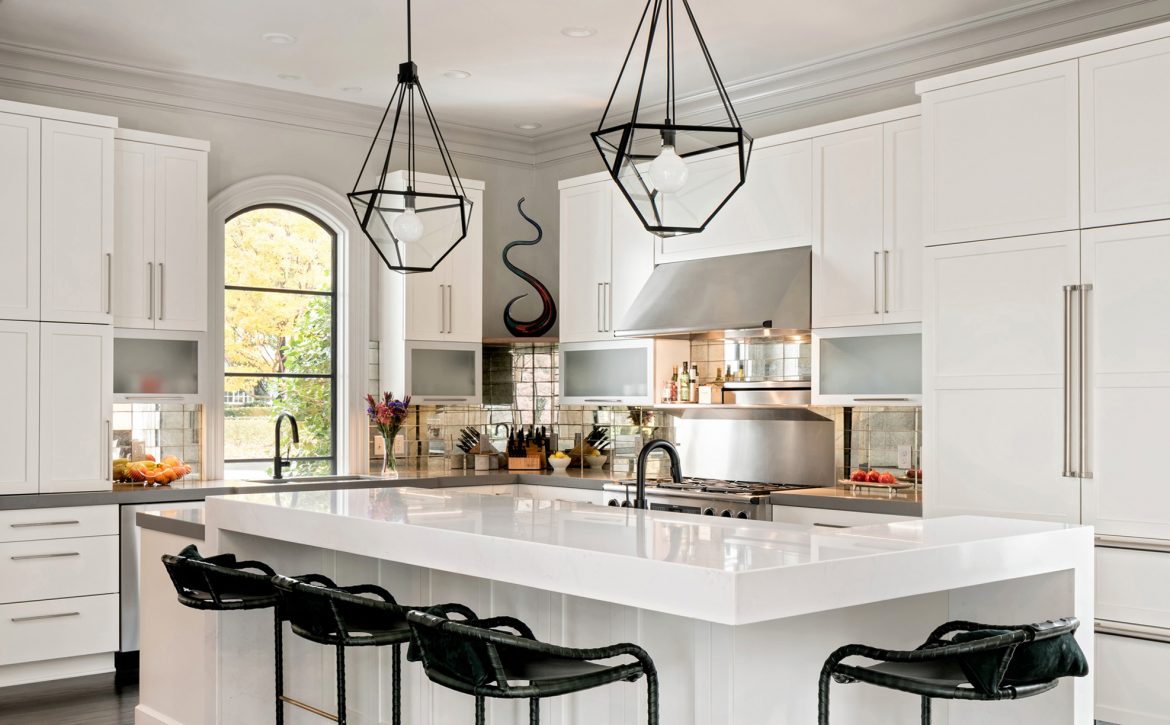
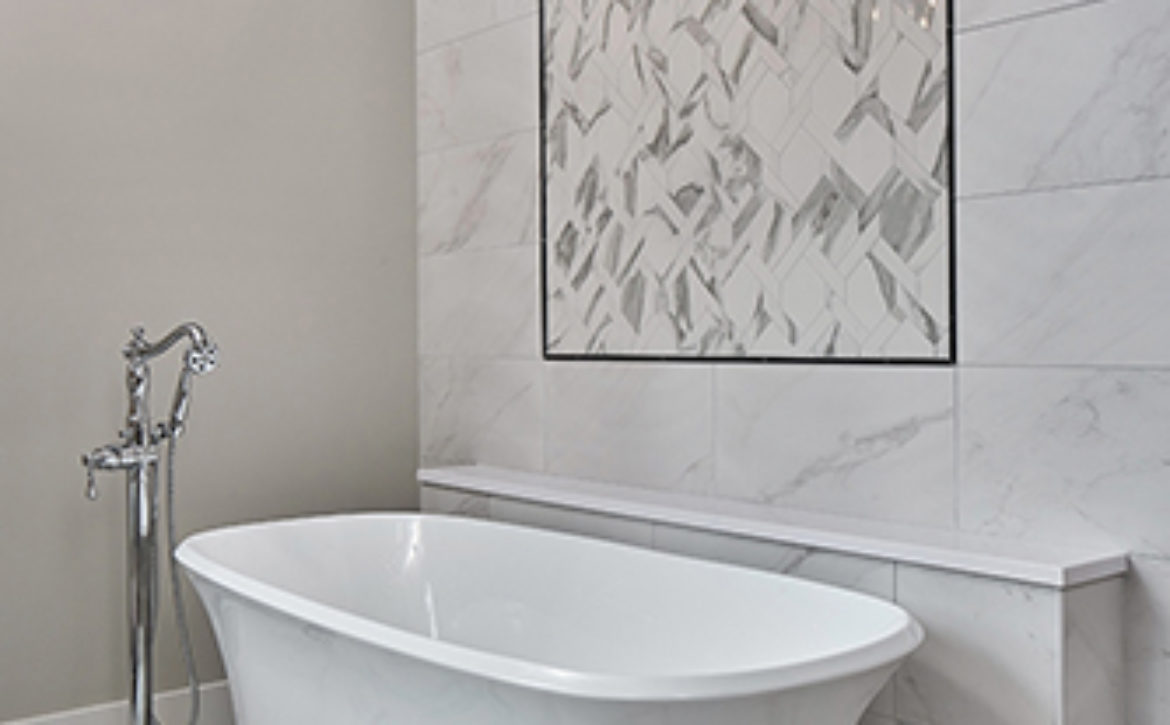
White quartz countertops look similar to marble, without the maintenance
Quartz Countertops are Now More Realistic
Quartz countertops have come a long way over the last decade. As the technology behind countertop materials improves, they’re becoming more realistic in appearance. The ability of manufacturers to crush the quartz into superfine particles creates a solid look as opposed to the granular, almost terrazzo-like appearance that was popular a decade ago.
Quartz is also through-body, meaning the color and pattern go all the way through the slab. This is important in waterfall installations where the front and back of the slab may be visible. Both sides of the slab do not automatically come polished, so your fabricator will have to polish the back for an additional cost. Through-body colors look more realistic because the veining is visible along the polished edges, just like they are with solid stone slabs.
Which Countertop Thickness is Best?
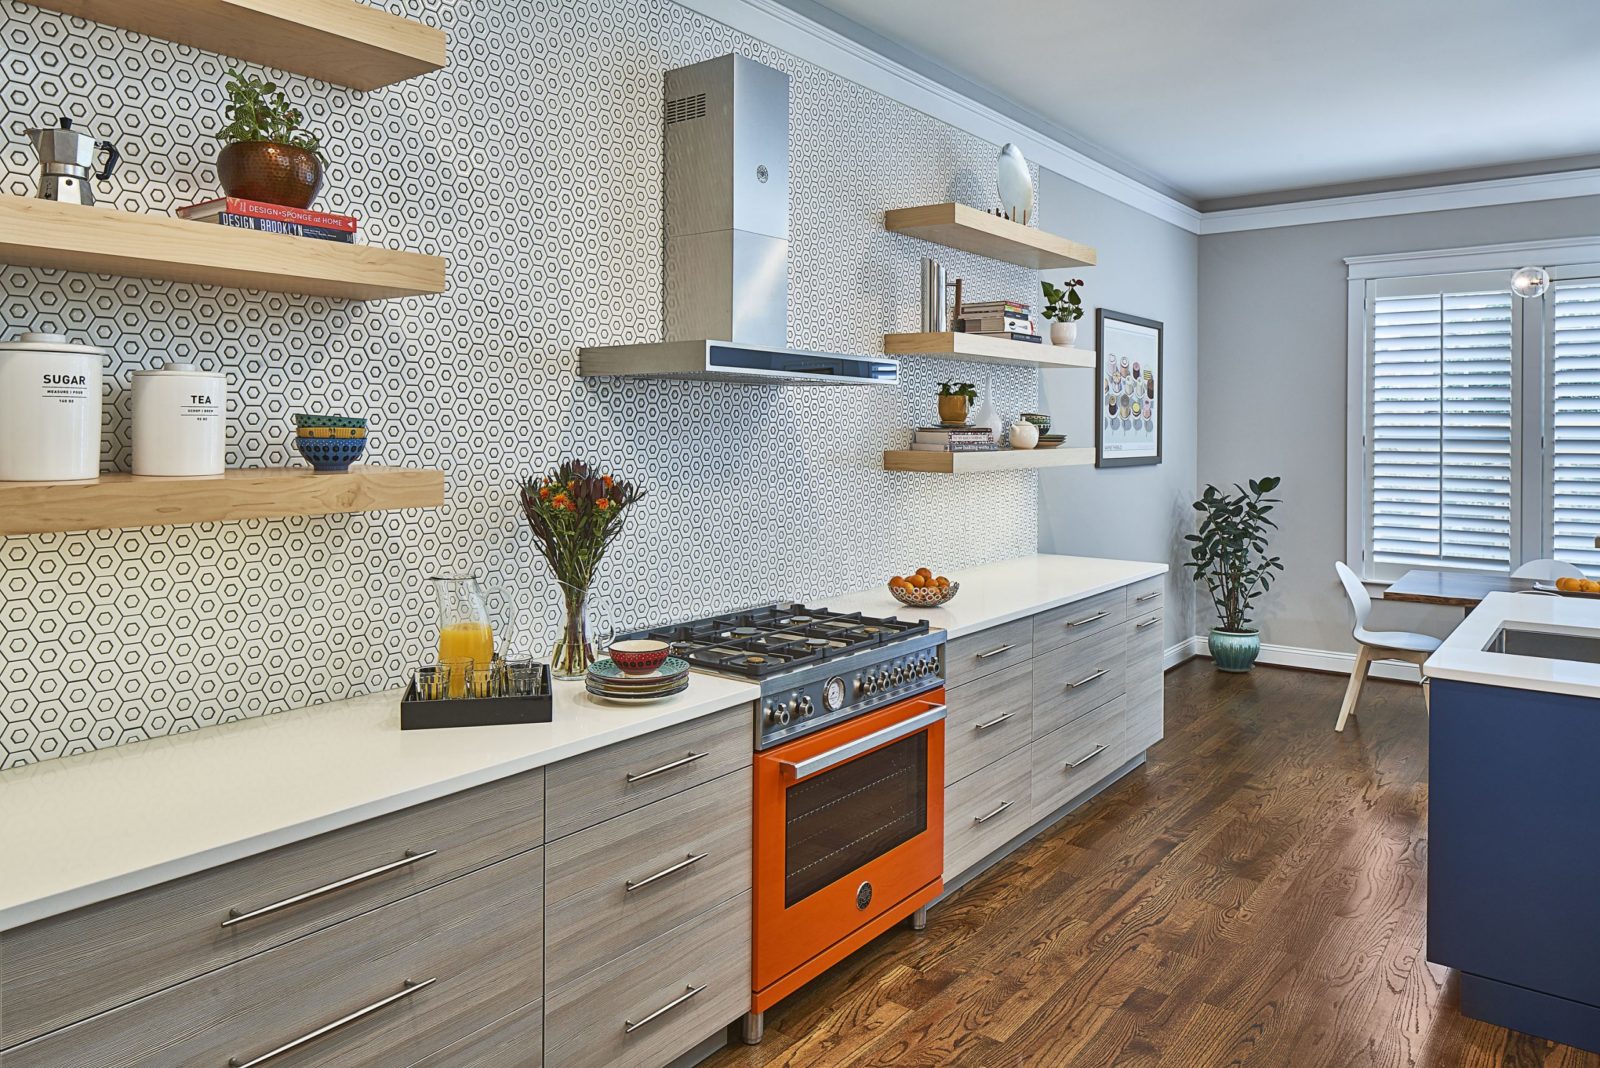
Typically, quartz countertops are available in two thicknesses: 3 cm (1 ¼”) and 2cm (3/4”). 3cm is most popular in North America. 2cm thickness lends a more European or contemporary vibe and has been increasingly popular as we’ve seen the Mid-Century Modern aesthetic make a resurgence. 3cm slabs are always more expensive than 2cm slabs, but some fabricators will build up the edge treatment to make the edge look thicker, which may or may not increase the cost depending on the fabricator.
How Much Do Quartz Countertops Cost?
As with any countertop material, the cost of quartz countertops can vary significantly depending on the manufacturer. Most brands tier their pricing into various groups, with finer, more solid, or delicate veined patterns at the highest end, and granular or more consistently veined patterns at the lower end.
The texture will often have an implication as well. Some manufacturers offer a matte or textured finish, and those are typically going to be more expensive than polished finishes. Country of origin is also important to consider, especially given the recent discussions regarding tariffs on Chinese imports. High-quality brands made in the USA and Europe such as Cambria and Silestone are going to be the best bet and the highest quality. We’ll talk more about general pricing down below.
Pros of Quartz
- Zero maintenance
- Incredibly durable
- Hundreds of colors and patterns
- Strong and stable
- Affordable for most budgets
Cons of Quartz
- Even the most sophisticated patterns still don’t have the depth and visual texture of natural stone
- The most attractive slabs are usually the most expensive
- Size limitations – not all colors are available in “jumbo” slabs, which may mean more seams. Pay special attention to the size of your island if you don’t want a seam
- Not suitable for outdoor applications (UV rays will break down the pigment over time and could cause discoloration)
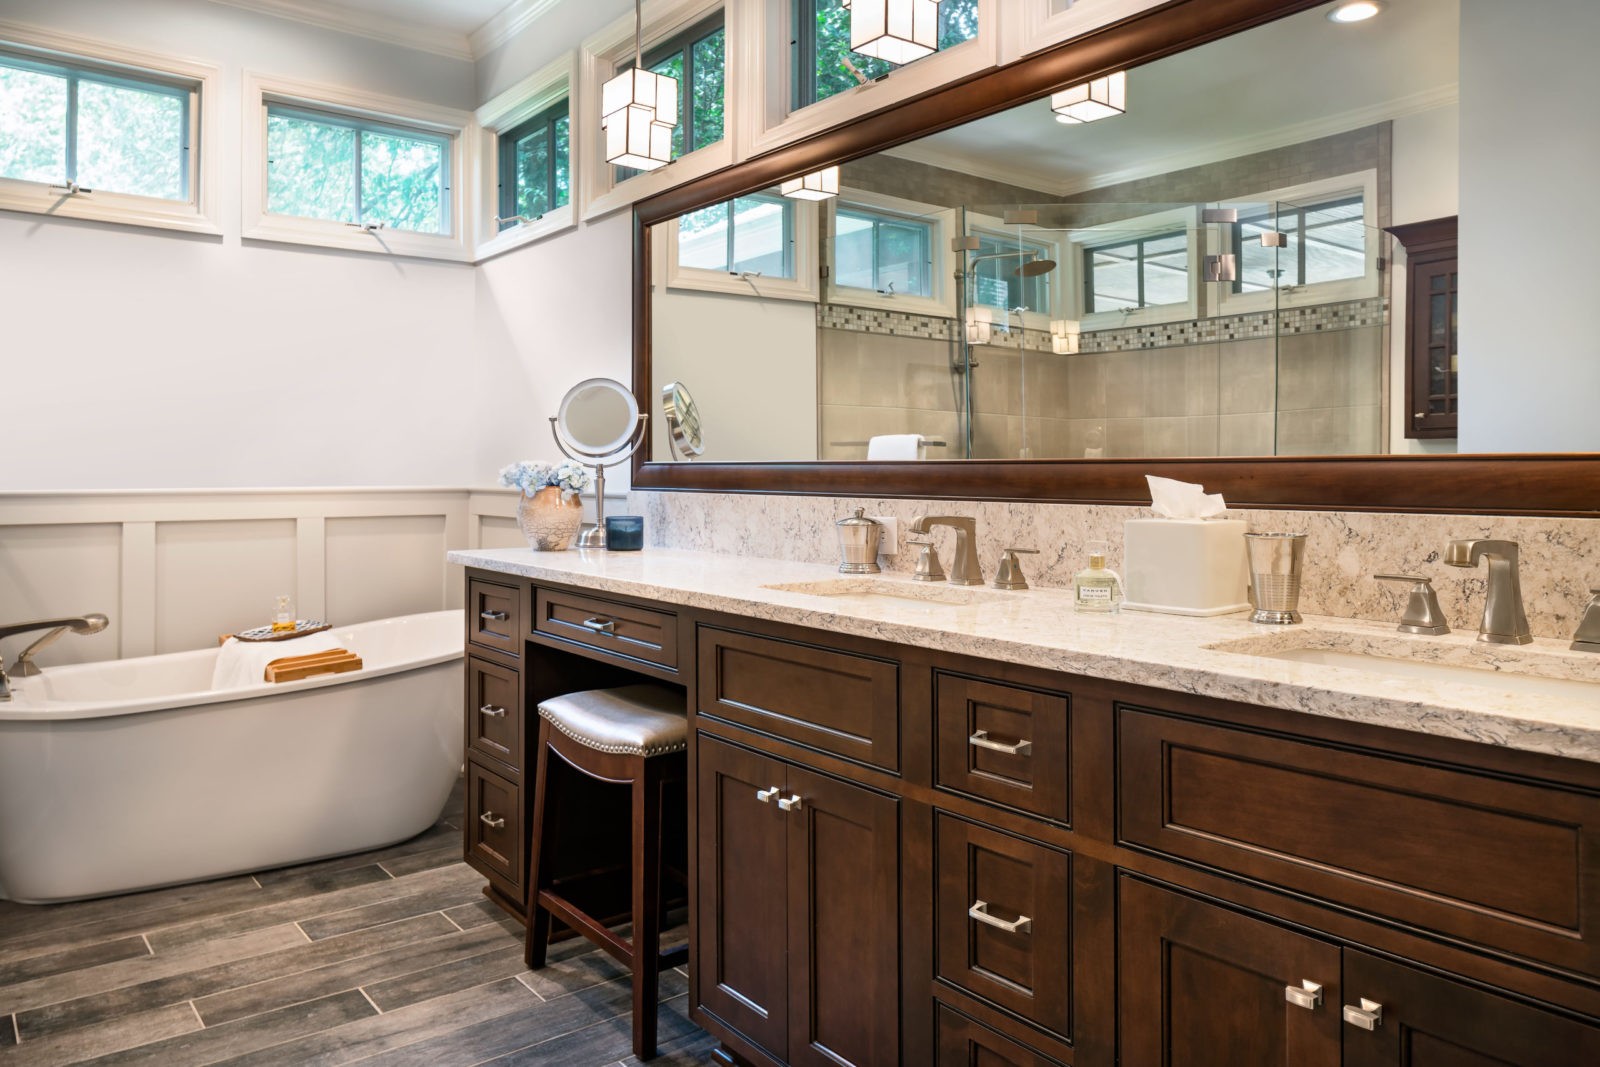
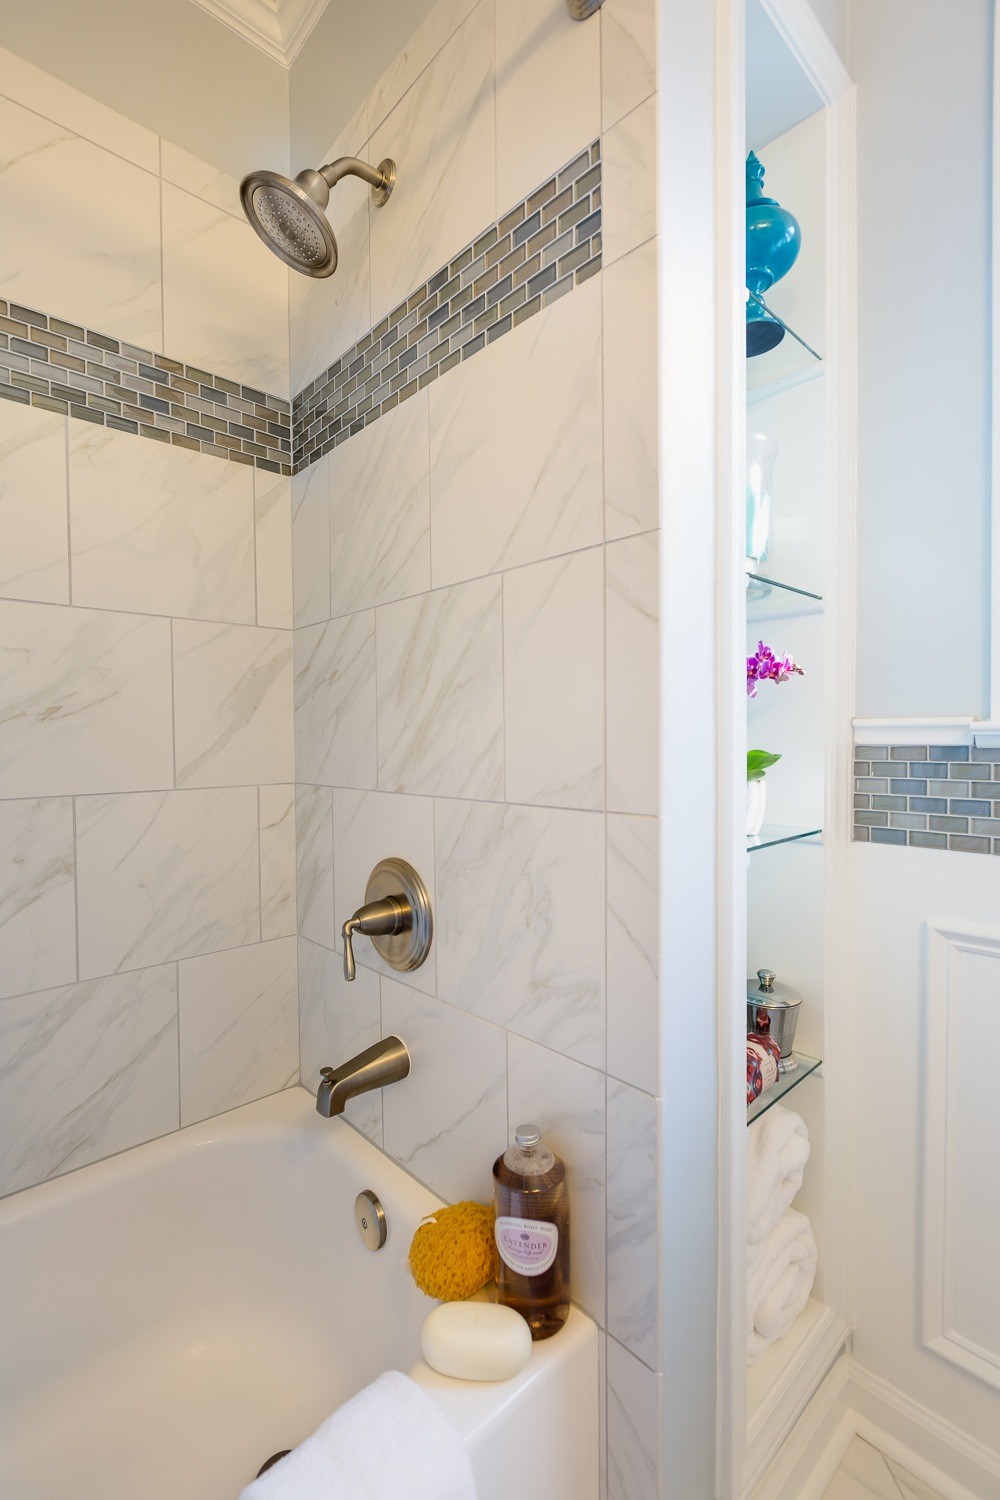
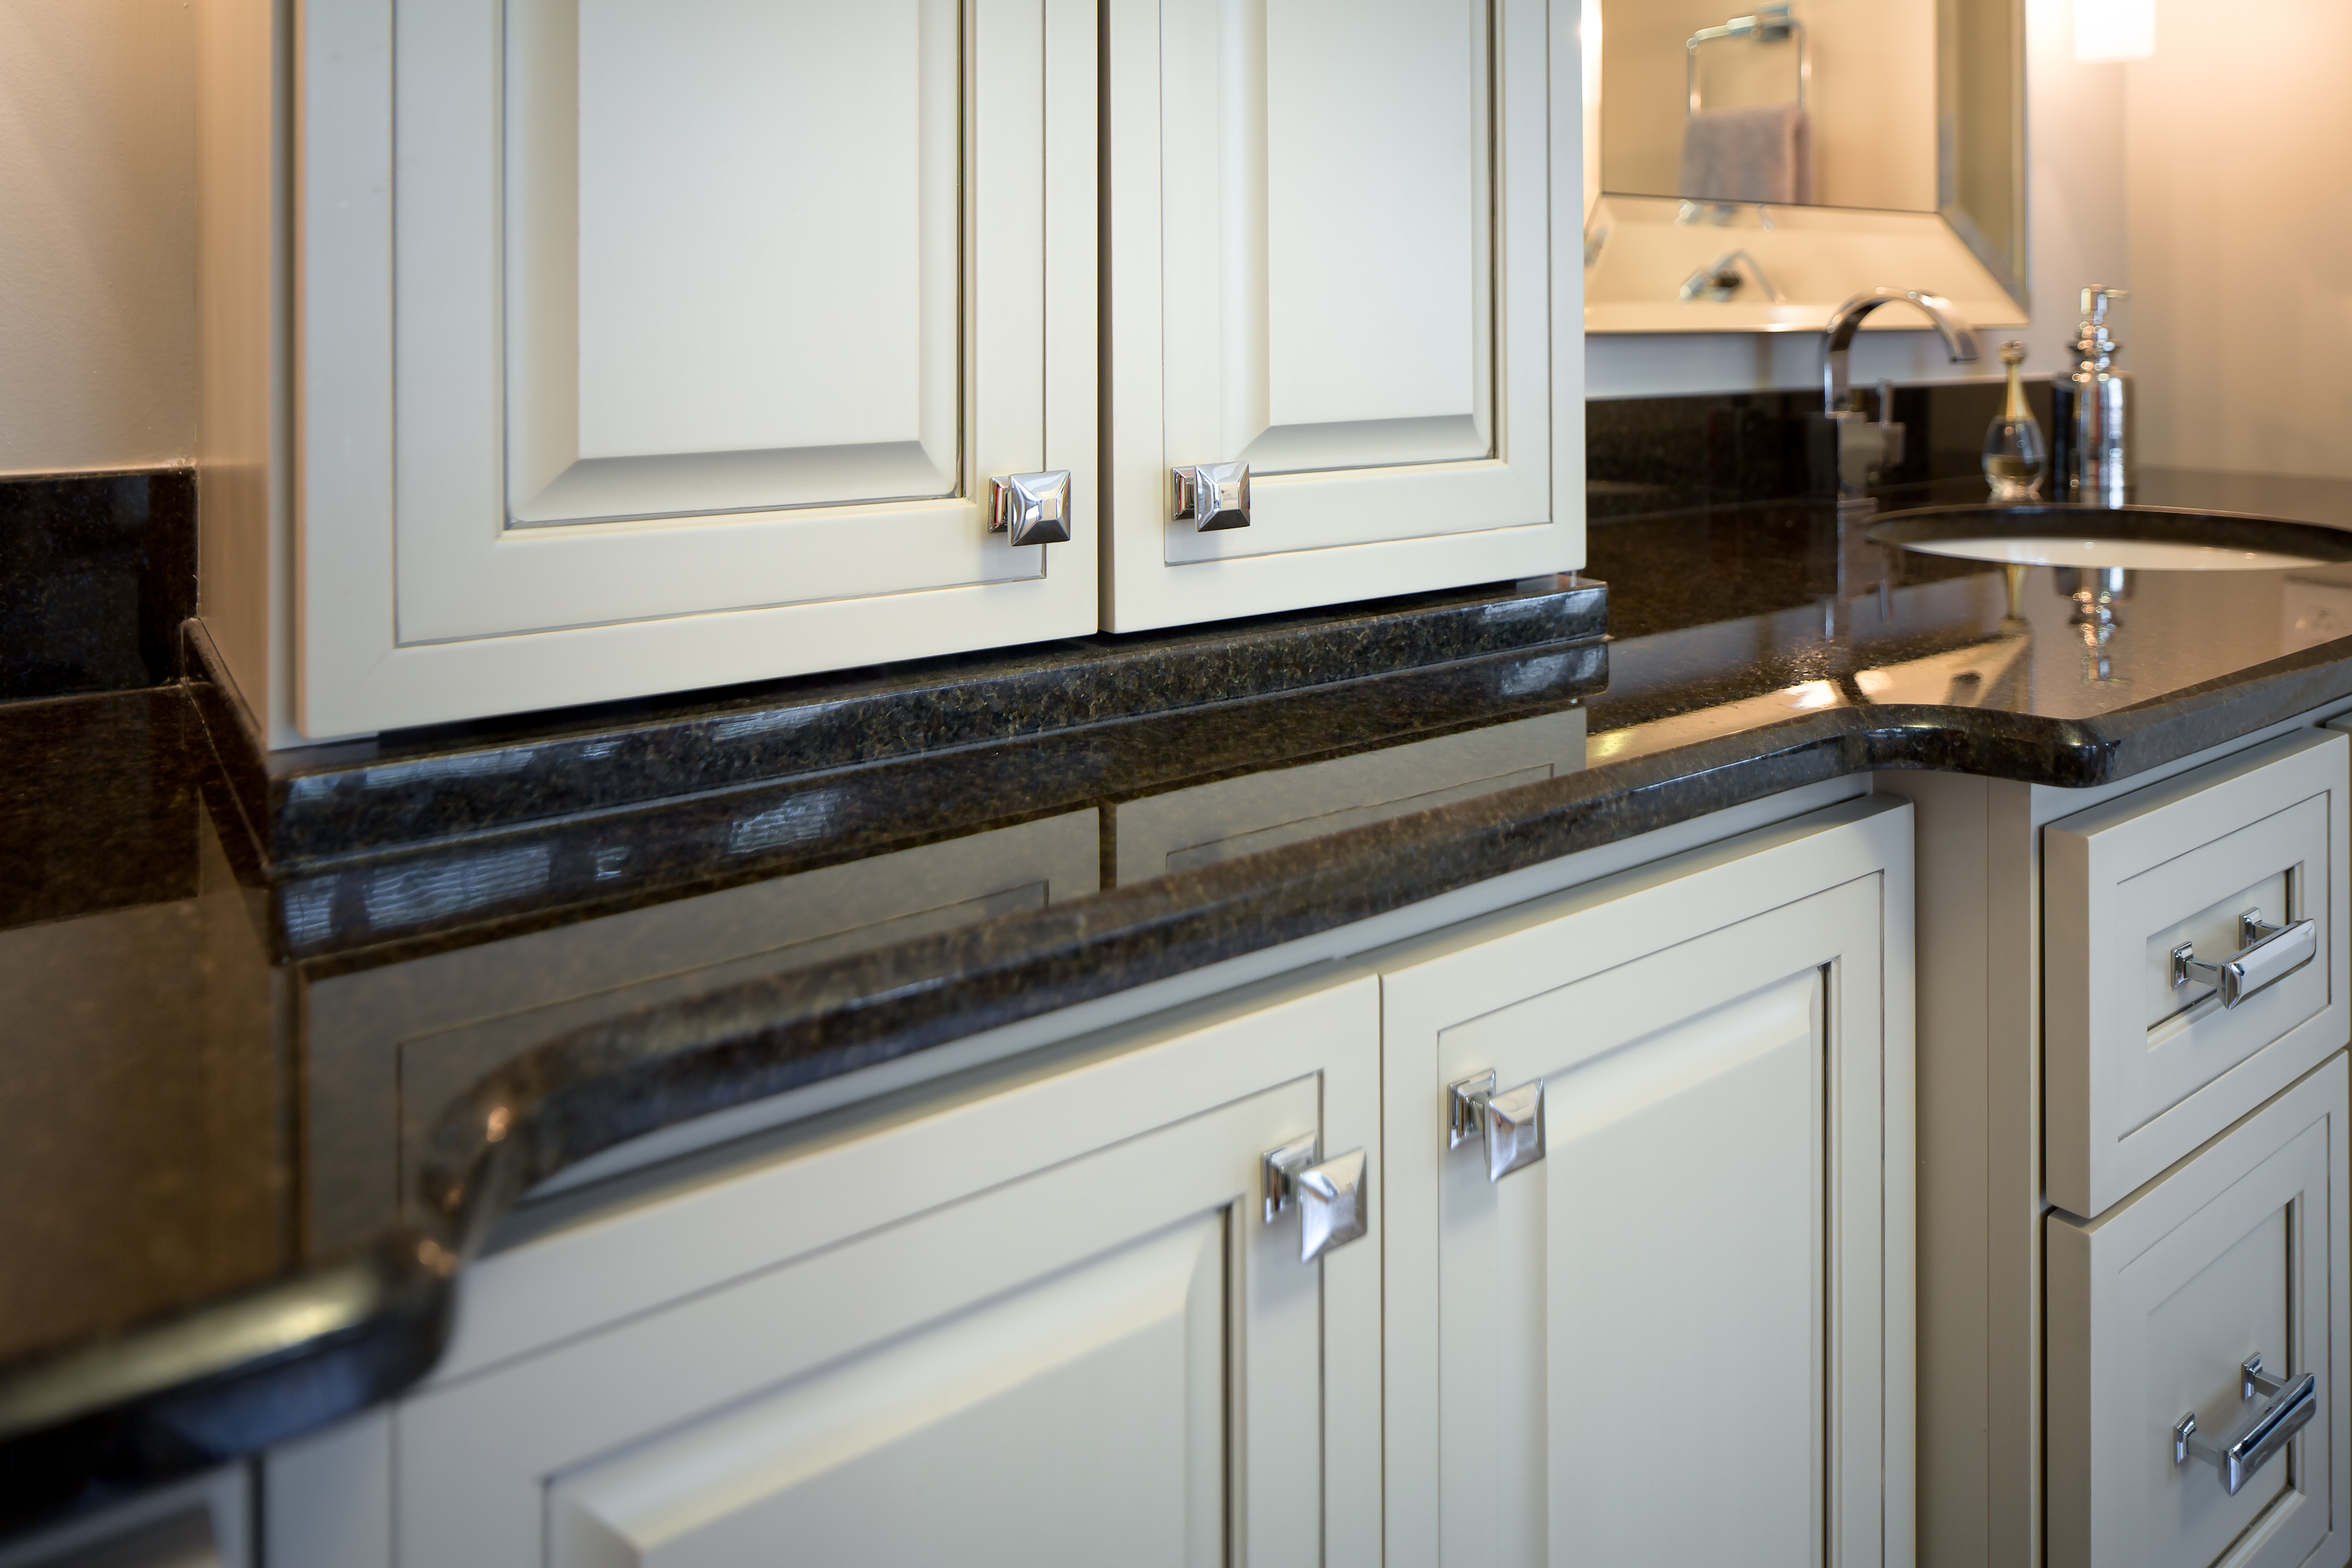
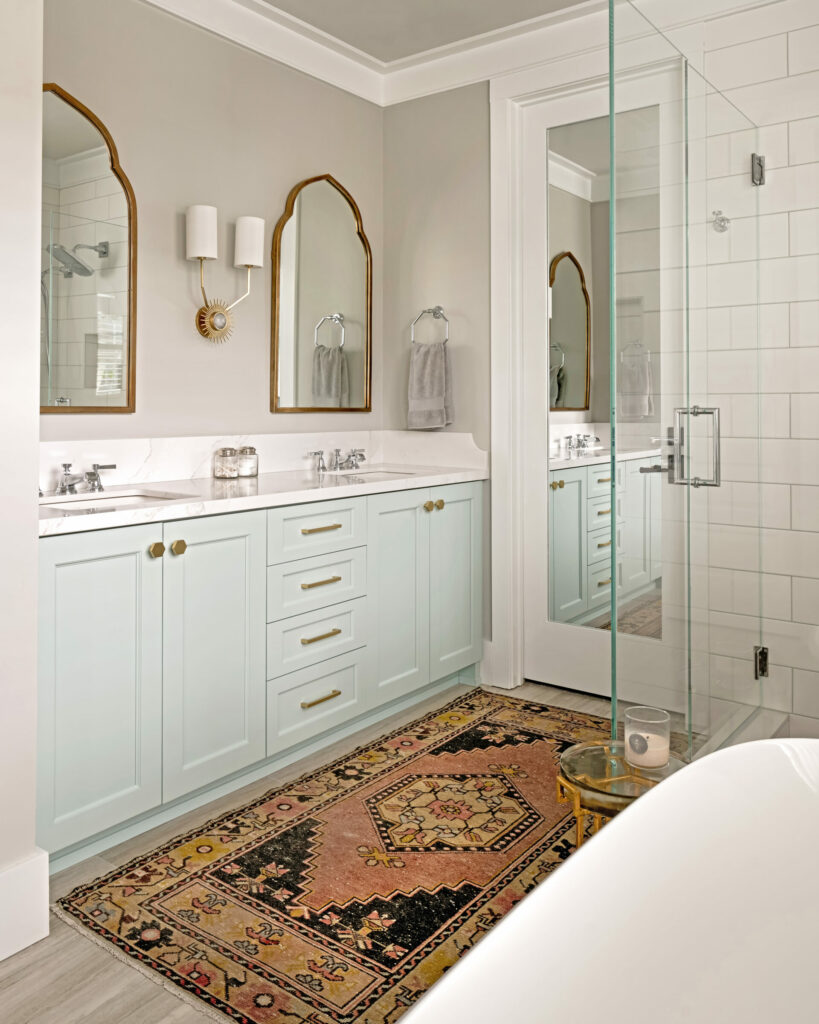
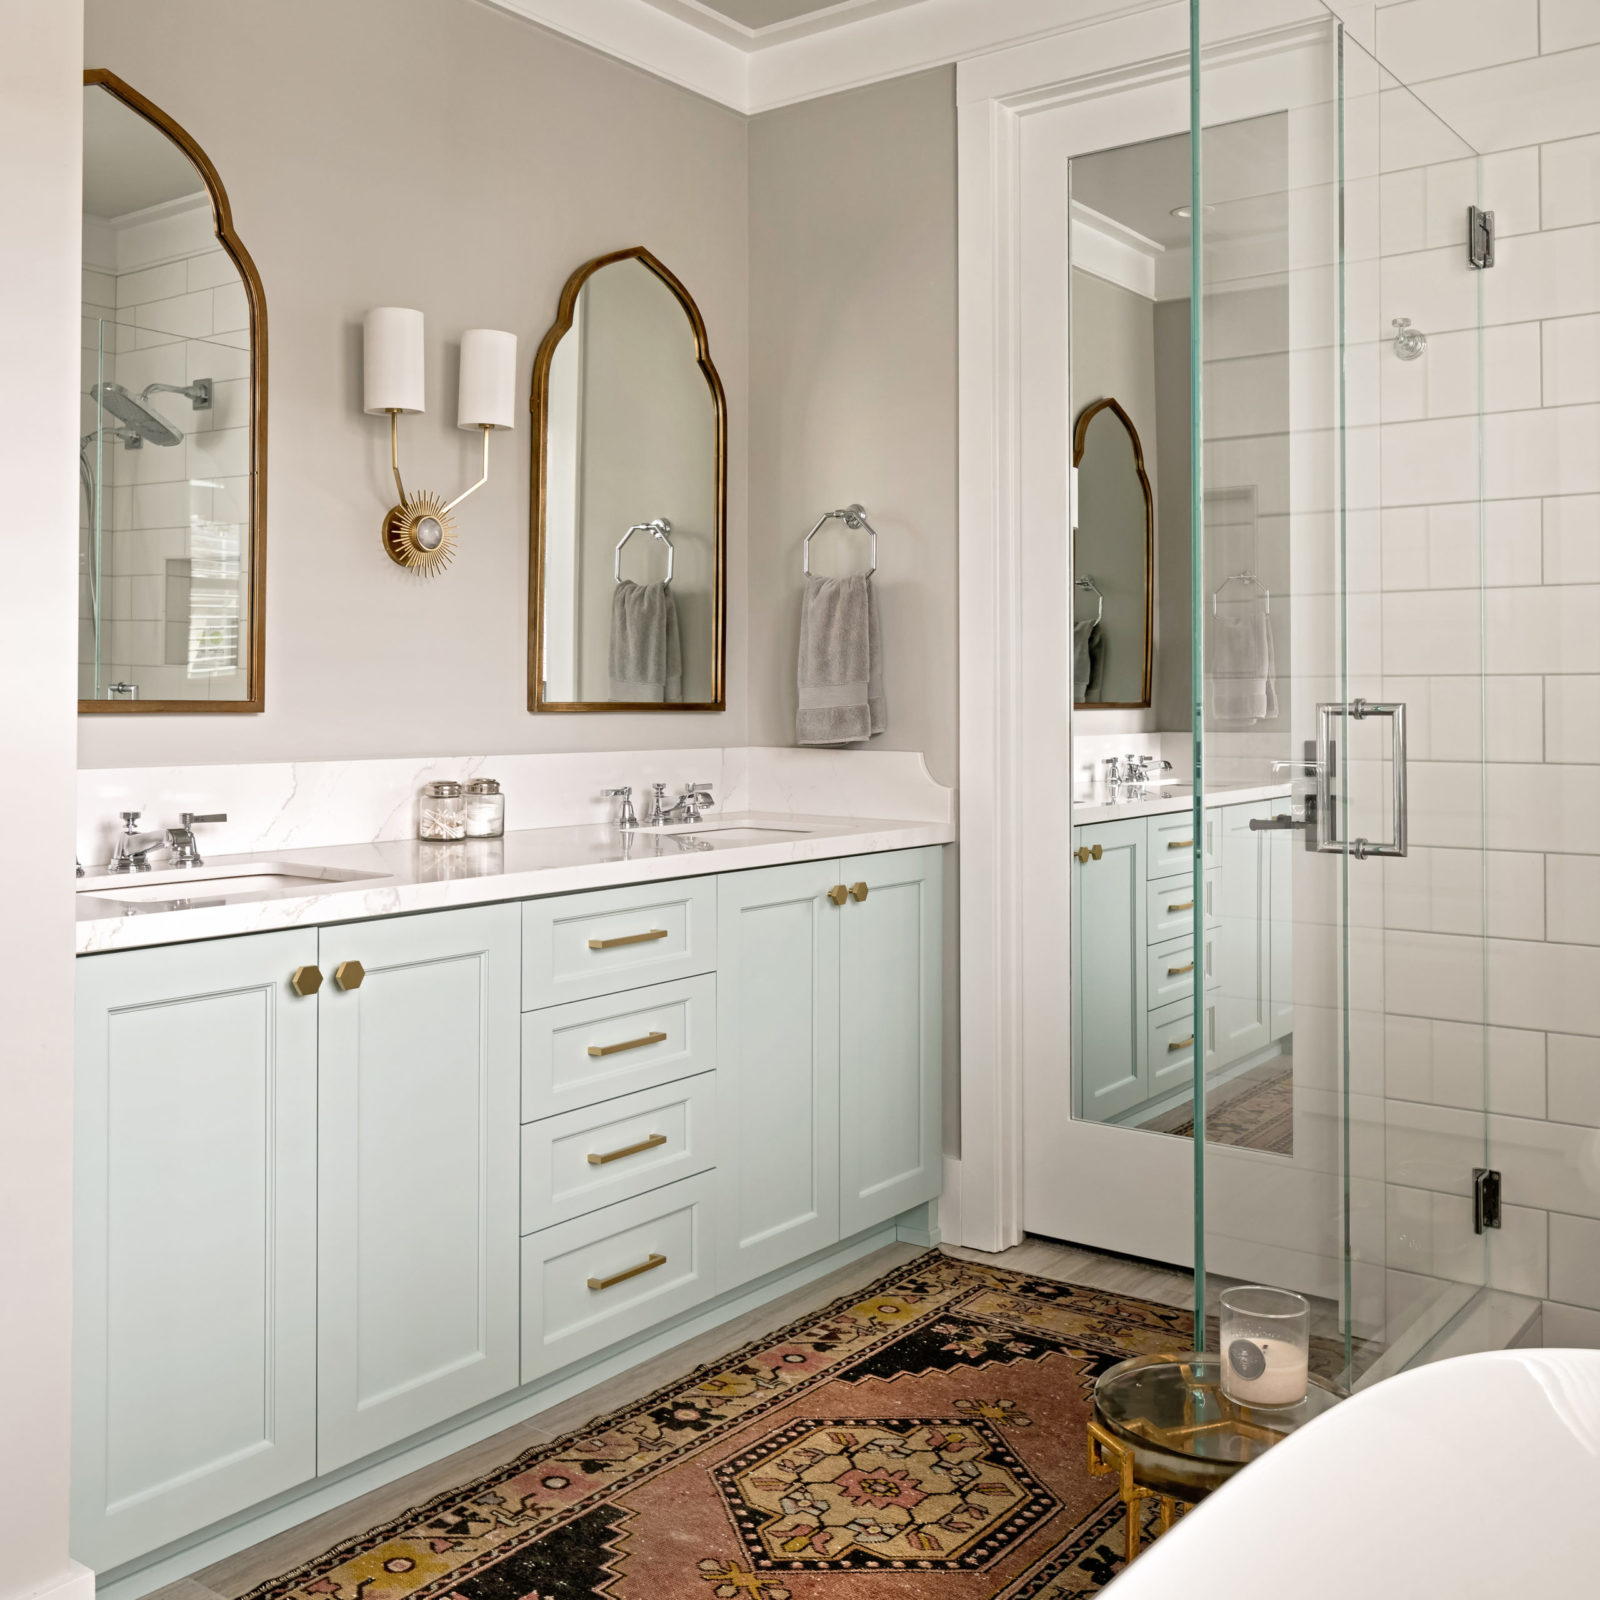
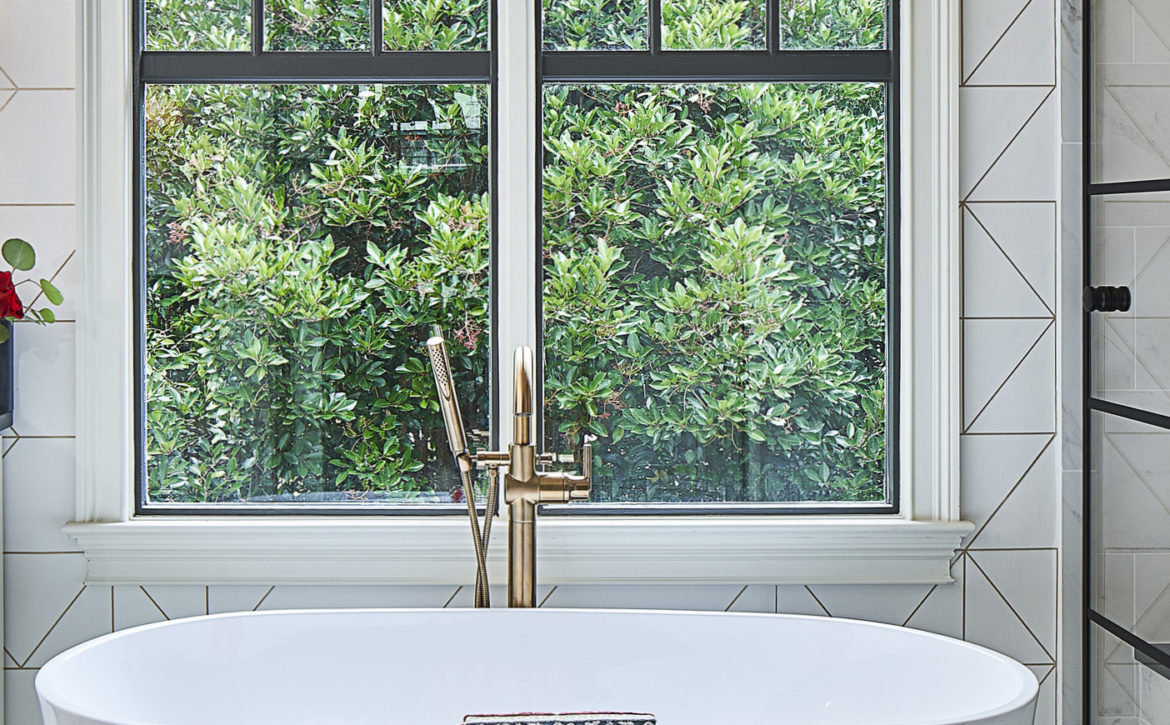
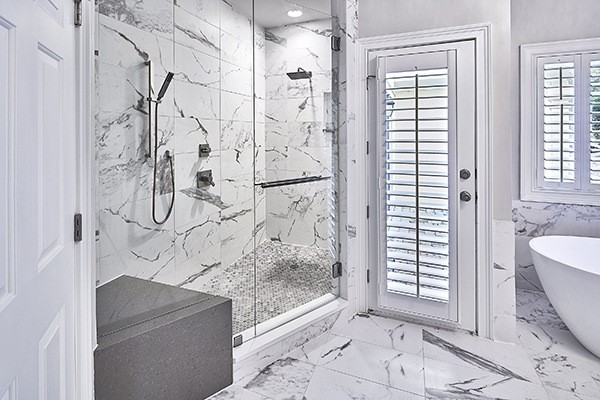
Creamy quartz countertops with a 6″ high backsplash rest on top of stained, inset cabinetry in the Craftsman master bathroom remodel
Natural Stone Countertops
Natural stone countertops are still incredibly popular due to the unique nature of each slab. That being said, there are several different types of natural stone that are suitable for counter applications, and it’s really easy to get confused when browsing at a slab yard. To keep it simple, we’ll just touch on the major differences between natural stone countertop materials, and the pros and cons of each.
All natural stones are porous and should be sealed to protect them from stains. Stone slabs are also likely to feature divots, and fissures which are part of the inherent nature of natural products and are not considered defects, but rather contribute to the unique nature of each slab. If you are bothered by these characteristics, you may want to stick with engineered quartz.
Granite Countertops
For twenty years, granite was the king of countertops. While granite has faded in popularity over the last several years as aesthetics change, it’s still relevant and a great choice for many reasons.
Granite is a hard, igneous rock, but not all granites have the same properties since they come from various quarries from all over the world. Generally speaking, the darker the granite, the harder the material. This means it’s relatively difficult to scratch and stain. Even though it’s tough, granite is still porous so it needs to be sealed, especially if it’s a lighter color.
Variety of Granite Colors and Textures
There’s a huge variety in color and pattern from which to choose. Some stones feature dramatic, linear veins, some are more speckled with large crystalline chunks scattered throughout and others are almost solid (Absolute Black for example). The lighter stones are often more fragile and are more likely to suffer damage during manufacturing, making them more expensive. You’ll often see fiberglass backing on natural stones. This is just to offer additional strength and support during shipping and fabrication – it’s not an indication of low quality.

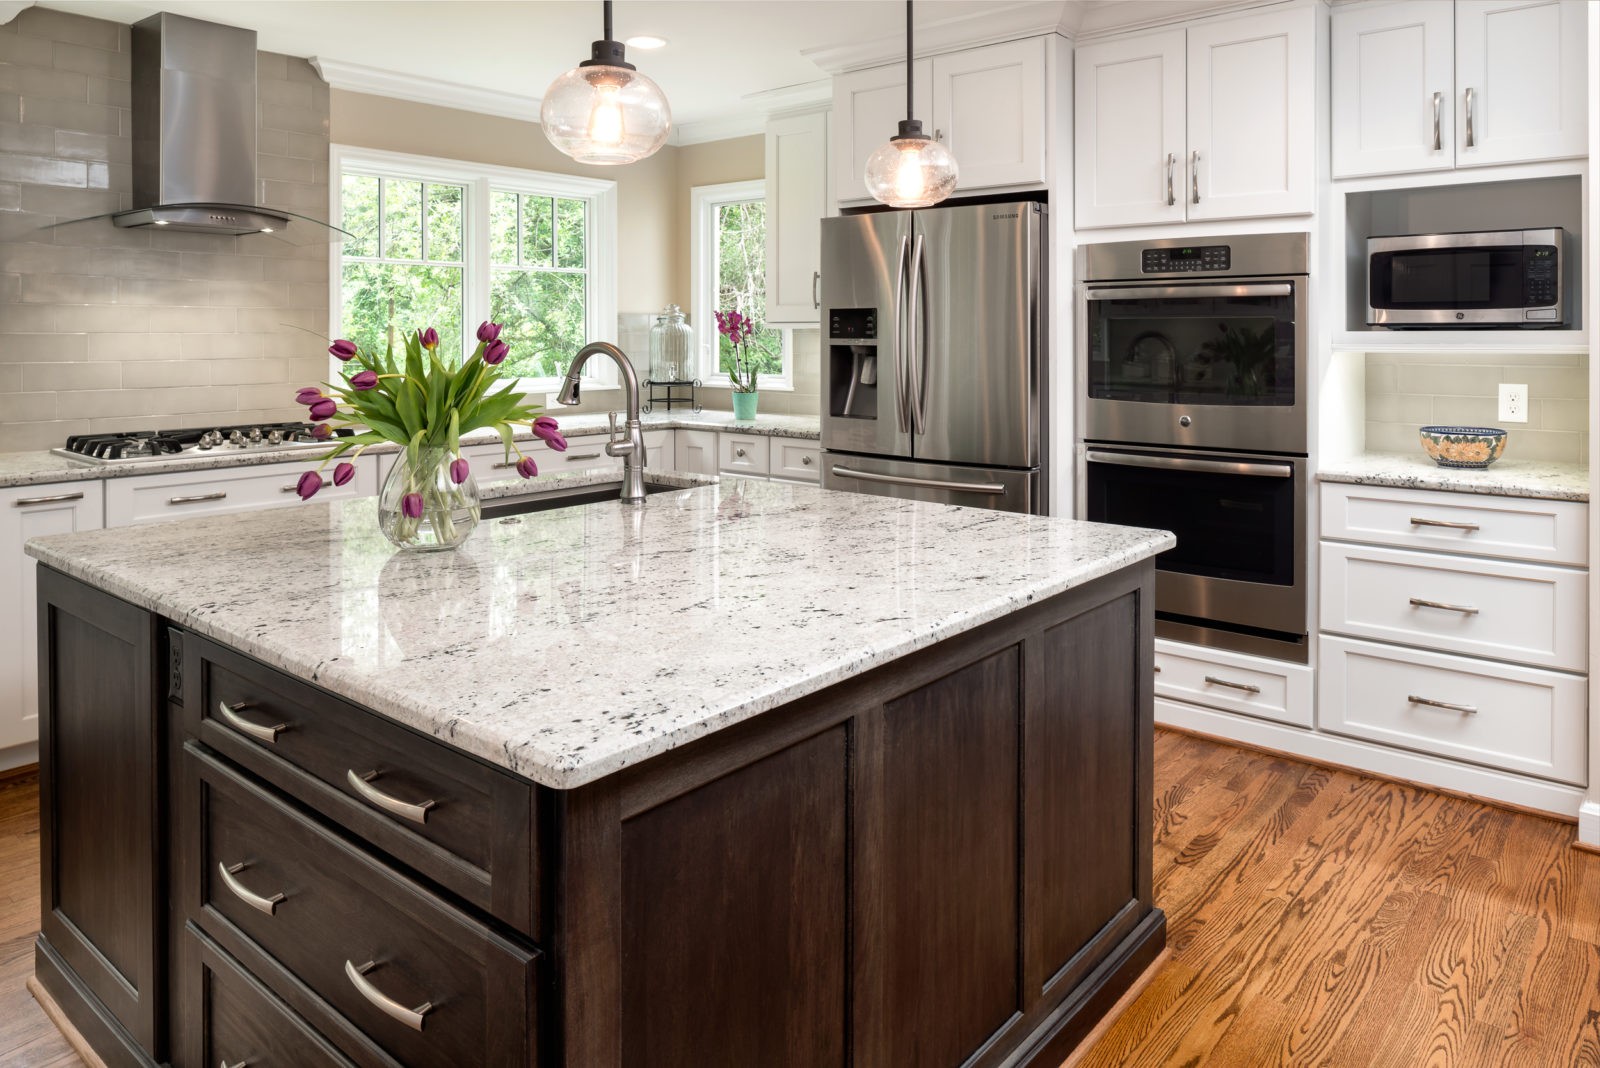
This Colonial White granite is one of the whitest granites available. This lot features a lighter background with gray and black spots, resulting in subtle movement.
Granites Typically Come in 3 Finishes
Polished slabs are the most common because polishing brings out the natural color variations of the stone. If you prefer a honed finish that’s smooth, but not shiny, most fabricators will hone the stone by hand for an additional cost if the stone you chose isn’t stocked in a honed finish already. Some slabs are also available with a leathered finish, which is a pebbly texture that has a more rustic appearance.
Pros of Granite
- Durable, natural stone
- Suitable for kitchens, baths, and outdoor spaces
- Hundreds of varieties and colors to choose from
- There’s a price point for every budget
Cons of Granite
- Lighter stones are more fragile than darker stones
- While there are many granites that are lighter in color, there are none that are white
Marble Countertops
Marble is metamorphosed limestone, mostly made up of calcite. It’s found in many different colors depending on where it’s quarried, but white, cream, gray or black stones with soft, elegant veins are most common.
Marble is soft by natural stone standards, so it scratches easily, stains, and etches when exposed to acids like lemon juice, tomato sauce, or even hard water. If you love the elegant look of real marble, and you want it to look brand new forever, it’s worth paying extra for the best stone sealer on the market. If you are drawn to the veins and light colors but don’t want to worry about long-term maintenance, it’s best to go with engineered quartz.

Pros of Marble
- Some scratches and wear can be buffed out and re-polished
- Each slab is unique
- Elegant, high-end appearance
- Stays cool — great for baking, but we don’t recommend having food make direct contact with the counter
Cons of Marble
- Soft and very susceptible to scratching and etching
- Not ideal for exterior applications due to pollution and acid rain degradation
Quartzite Countertops
Not to be confused with quartz, quartzite is a natural metamorphic stone that’s formed when quartz-rich sandstone is heated under pressure from the earth. While it looks similar to marble, in that the colors are generally light and the veins are soft and linear, quartzite is as hard or harder than granite so it won’t etch when exposed to acid. You have to try really, really hard to scratch it (it’s a 7 on the Mohs Hardness Scale). Due to these properties, it has become one of the most popular countertop materials in recent years.
“True Quartzite” vs. “Soft Quartzite”
Here’s the deal: true quartzite is quartzite, soft quartzite is marble. Sometimes it can be hard to tell the difference because they look identical. If you’re unsure about which you’ve chosen, try this at-home experiment: take home a sample of your chosen material and leave a slice of lemon on it to see how it reacts. If it etches, it’s marble, and if it doesn’t, it’s quartzite.
Pros of Quartzite
- Elegant look similar to marble, but with the added durability of granite
- Many color options, with creams and taupes being the most common
Cons of Quartzite
- Easily confused with marble, which will not perform at the same level
Soapstone Countertops
Lesser known, but still popular due to unique properties, soapstone countertops are a fabulous choice for your kitchen or bathroom. Composed mostly of talc, this countertop material is very soft and scratches easily, but the scratches fade over time as the surface becomes worn and develops a natural patina. Soapstone is incredibly dense and non-porous, so it doesn’t need to be sealed (which is why you may remember it from the tabletops of your chemistry labs when you were in school).
What Color is Soapstone?
Soapstone is found in shades of dark green, blue-gray, and black. Some slabs will have a spotted appearance like a harbor seal, while others feature crisp, white veins. While soapstone can be polished smooth, it isn’t shiny like granite or marble. Slabs containing more talc will take on a powdery appearance, giving it a casual elegance. Some people choose to oil their soapstone countertops with food-grade mineral oil which will darken them and create a dramatic contrast, but this is strictly for aesthetics — there’s no functional need to oil it.
Pros of Soapstone
- Non-porous and doesn’t require chemical sealing
- Scratches easily buff out and disappear over time
- Unique look with a powdery finish
Cons of Soapstone
- Limited colors
- Not as readily available in some areas
How Much Do Stone Countertops Cost?
Pricing stone countertops could be an entirely separate blog post, but since you’re probably wondering how it all works, we thought we’d give you the details here. When it comes to pricing natural stone countertops, they’ll be tiered into price groups just like engineered quartz, but they will vary from supplier to supplier. Group 3 pricing at one supplier is not necessarily going to be the same as Group 3 at another supplier.
Comparing the cost of various countertop materials can be really frustrating because there isn’t a one-size-fits-all approach. Here’s how we explain it to our Charlotte area clients: When it comes to slabs, whether natural stone or quartz, there are suppliers (those who purchase the material from the manufacturers or quarries) and there are fabricators (those who measure and cut the stone to suit your home). Some fabricators keep slabs in stock, which means they’re capable of both supplying and fabricating, while others strictly rely on purchasing and shipping the material from a supplier.
Some fabricators who stock material will price the job on a square foot basis, while others price it on a per-job basis, factoring in square footage and level of difficulty. Keep in mind that even with square foot pricing, there will always be additional costs such as the sink and faucet cutouts, radius corners, fancy or mitered edge treatments, and waterfall sides. Some even charge extra if they have to haul a slab up to a second story.
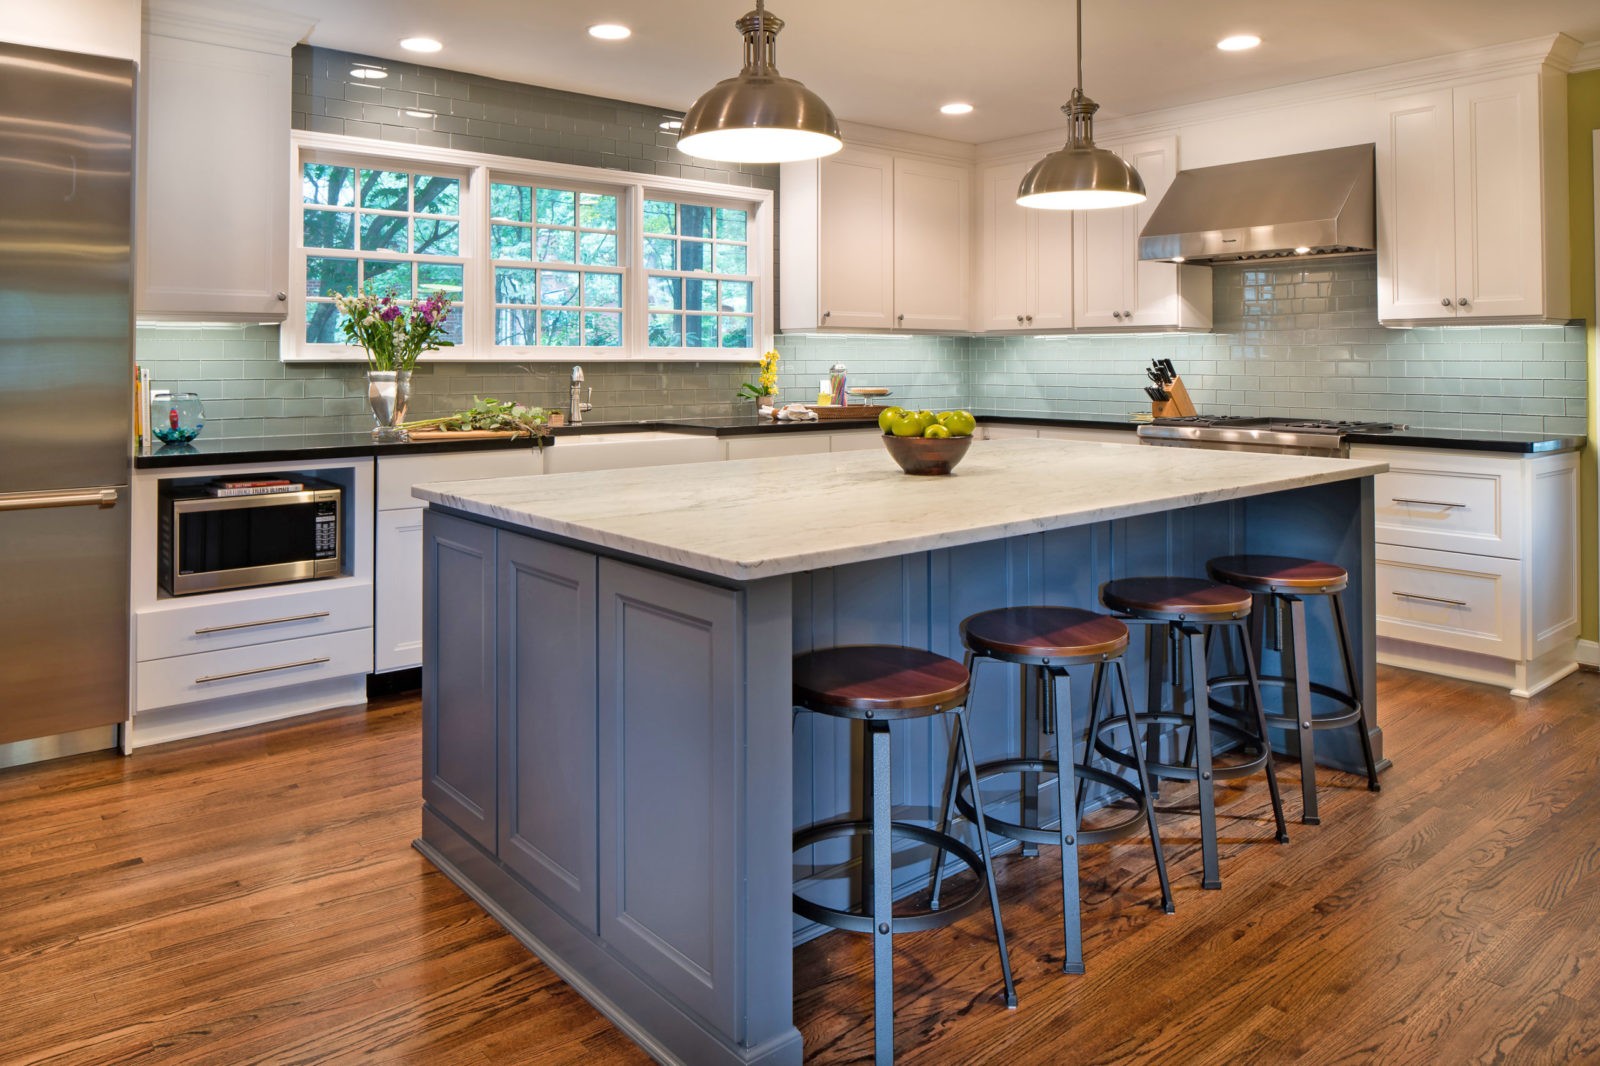
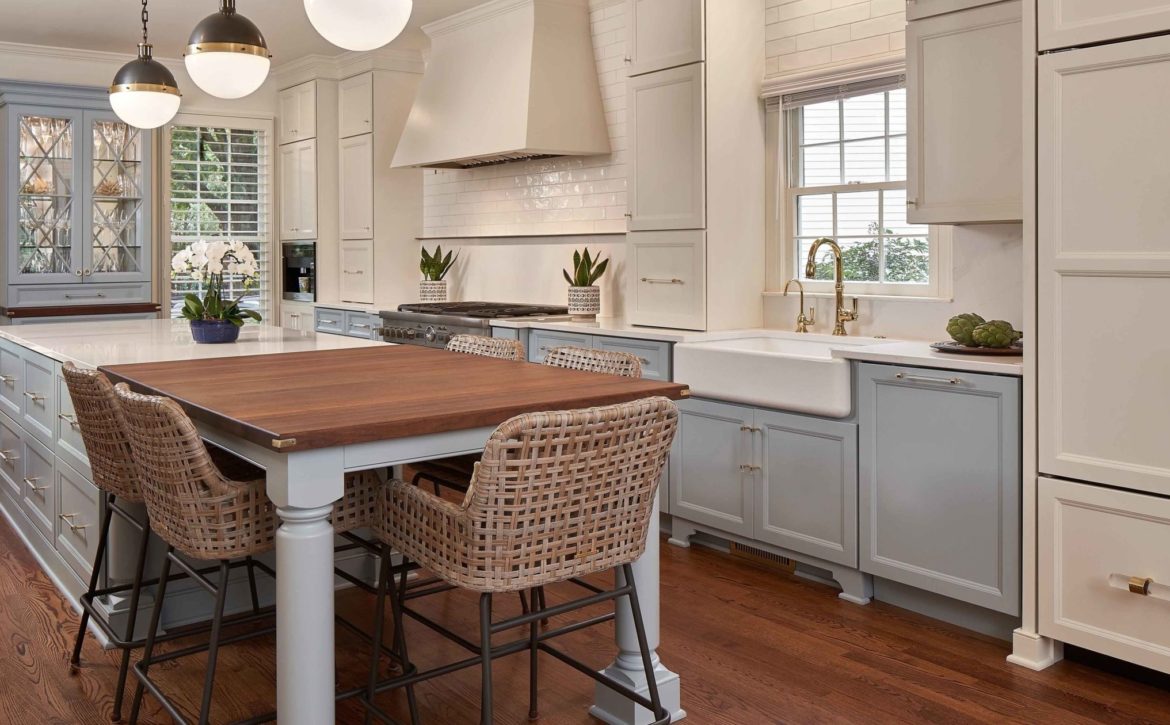
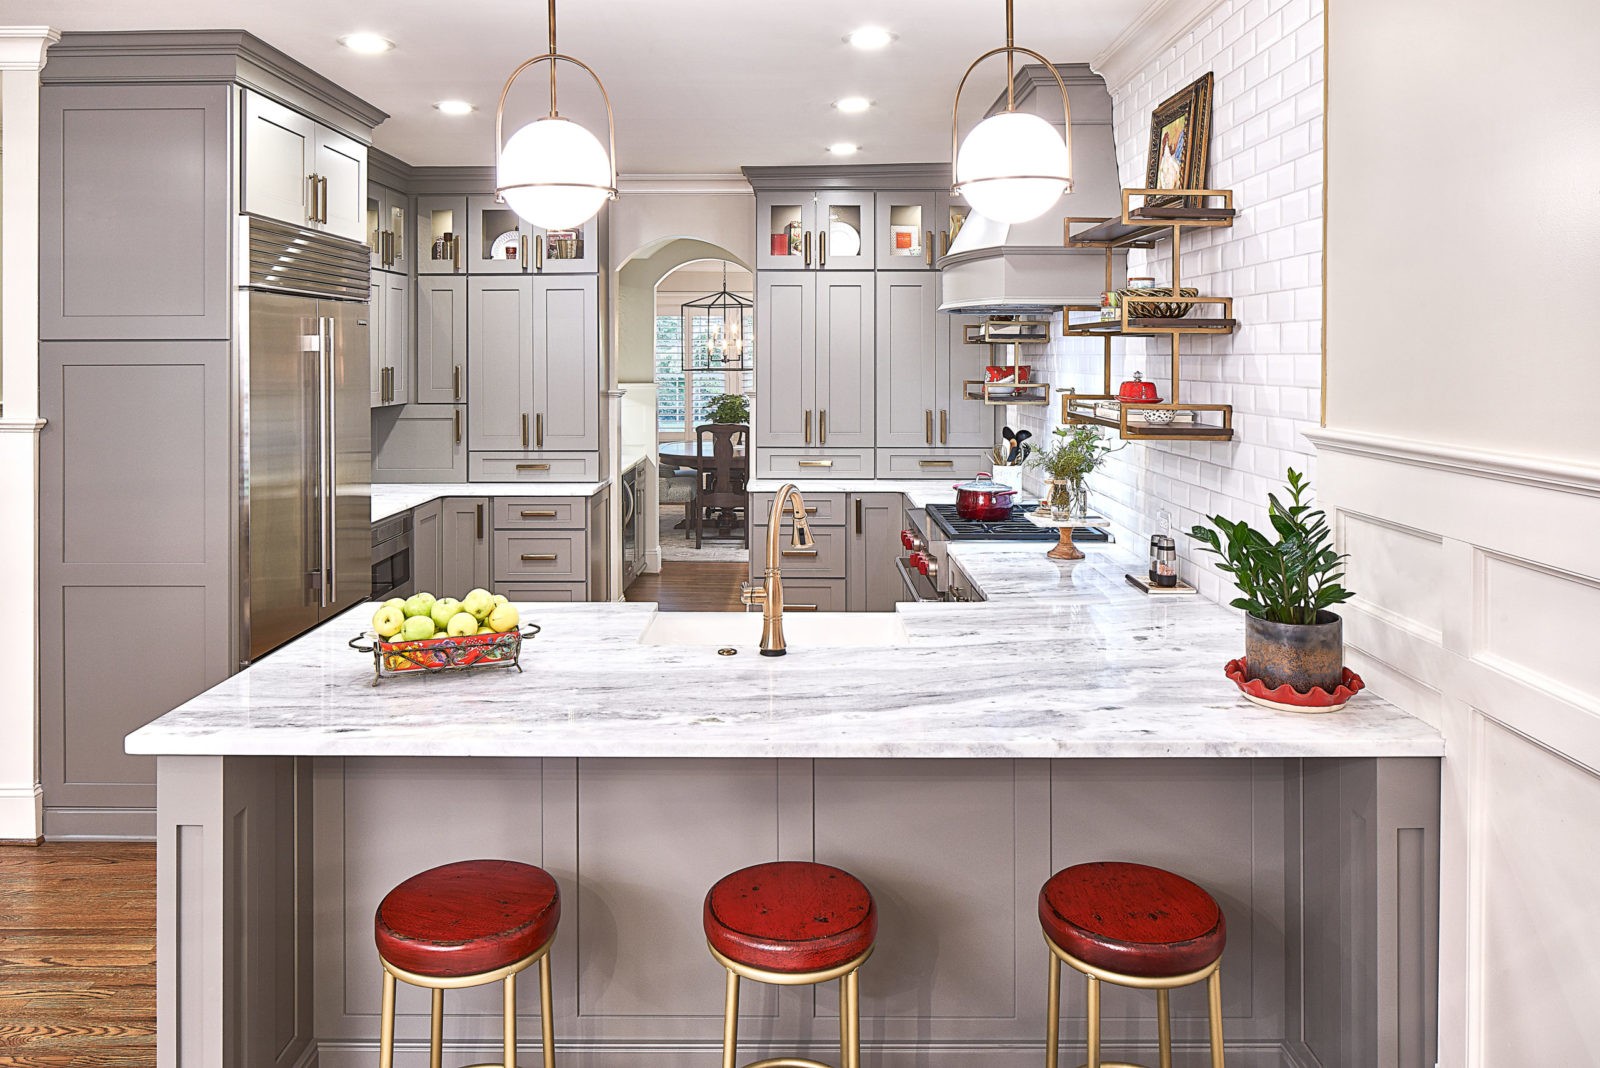
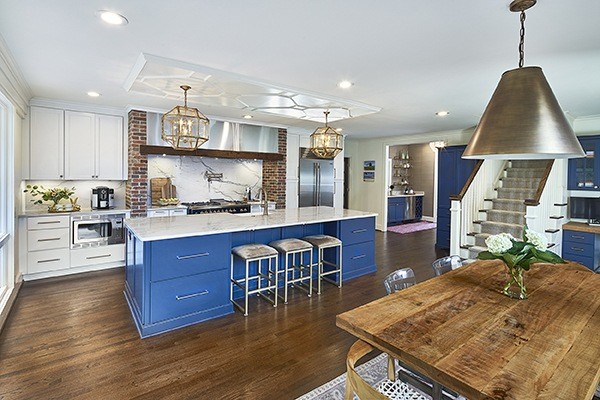
For practical as well as cost reasons, this couple selected a honed Carrara marble slab for their island but chose s simple black quartz for the prep areas around the perimeter.
Often we have clients that want a particular slab from a supplier who does not fabricate. In those instances, the cost is always significantly more because the supplier is now acting as the middle man. Suppliers do not sell to consumers or to kitchen designers, so never expect a supplier to discuss costs with you in anything but generic terms. Suppliers only sell to fabricators, so when you get the price from the fabricator, it will have an additional level of mark-up on it because the fabricator had to purchase a whole slab (or slabs) from a supplier, instead of directly from the manufacturer. Each supplier prices their stone differently, so a stone by the same name (from two different places) may have two different prices.
Confused yet? We get it. We’re used to the complexities of the industry because we deal with it every day, but if you’ve never had to purchase kitchen countertops before, we completely understand how frustrating it can be. That’s why when people ask, “Is granite cheaper than marble?” or “Is quartzite more expensive than marble?” there isn’t a straight answer. It all depends on where the slabs are coming from and how complex the design and installation will be. There are plenty of marble slabs that are less expensive than some of the exotic granites. We’ve installed granite counters that were $55/SF and we’ve installed marble counters that were over $200/SF. It depends on multiple factors.
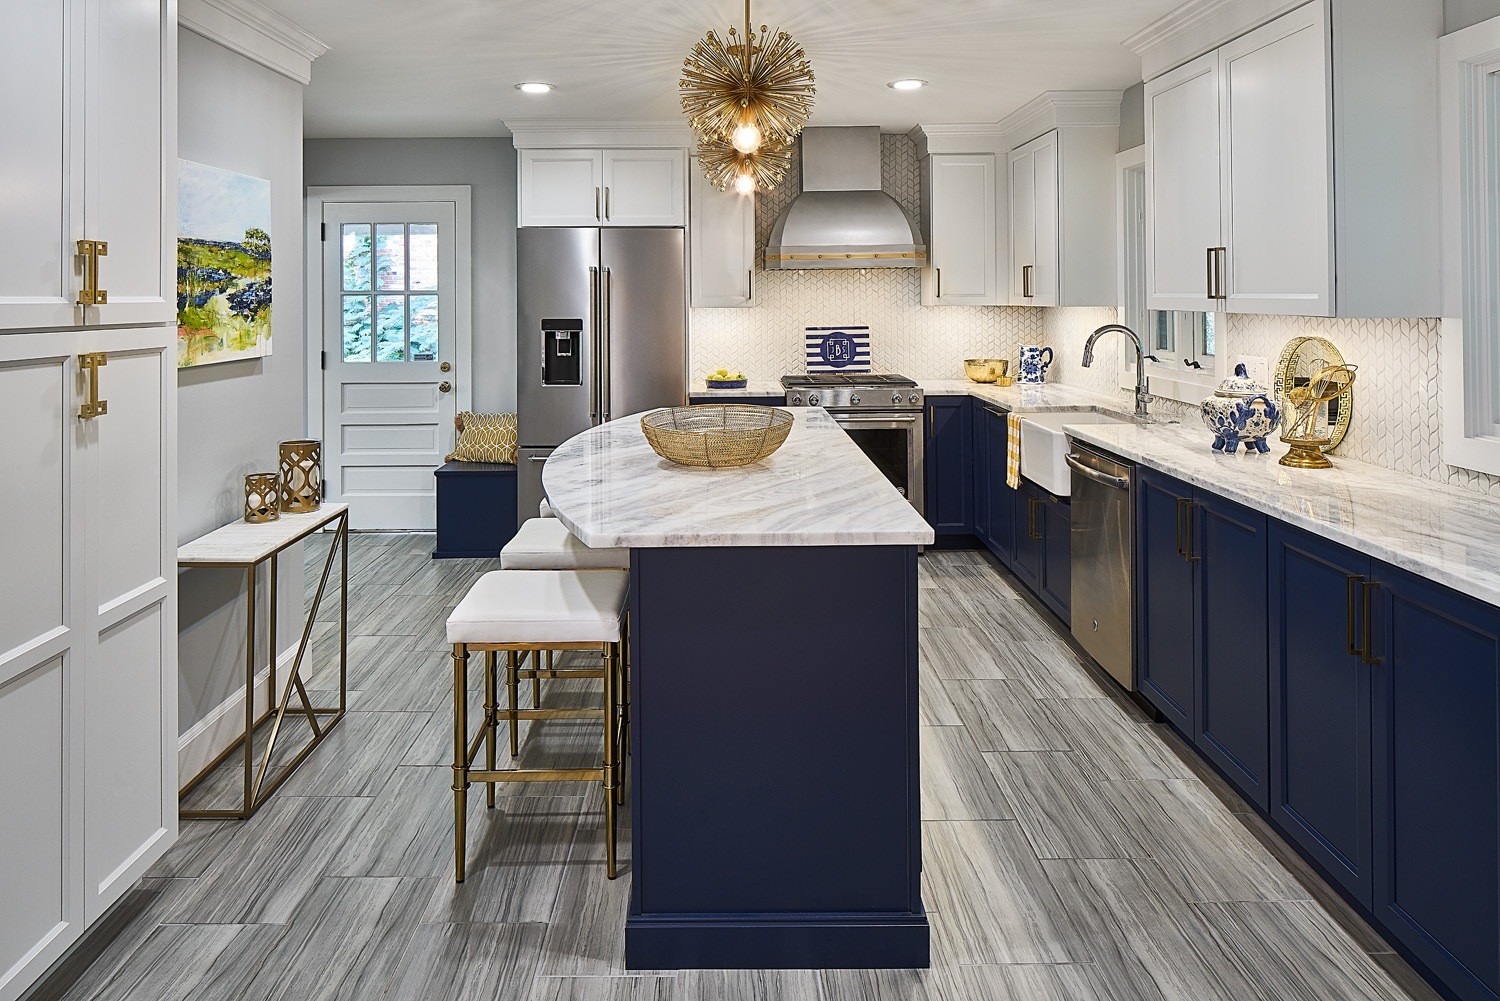
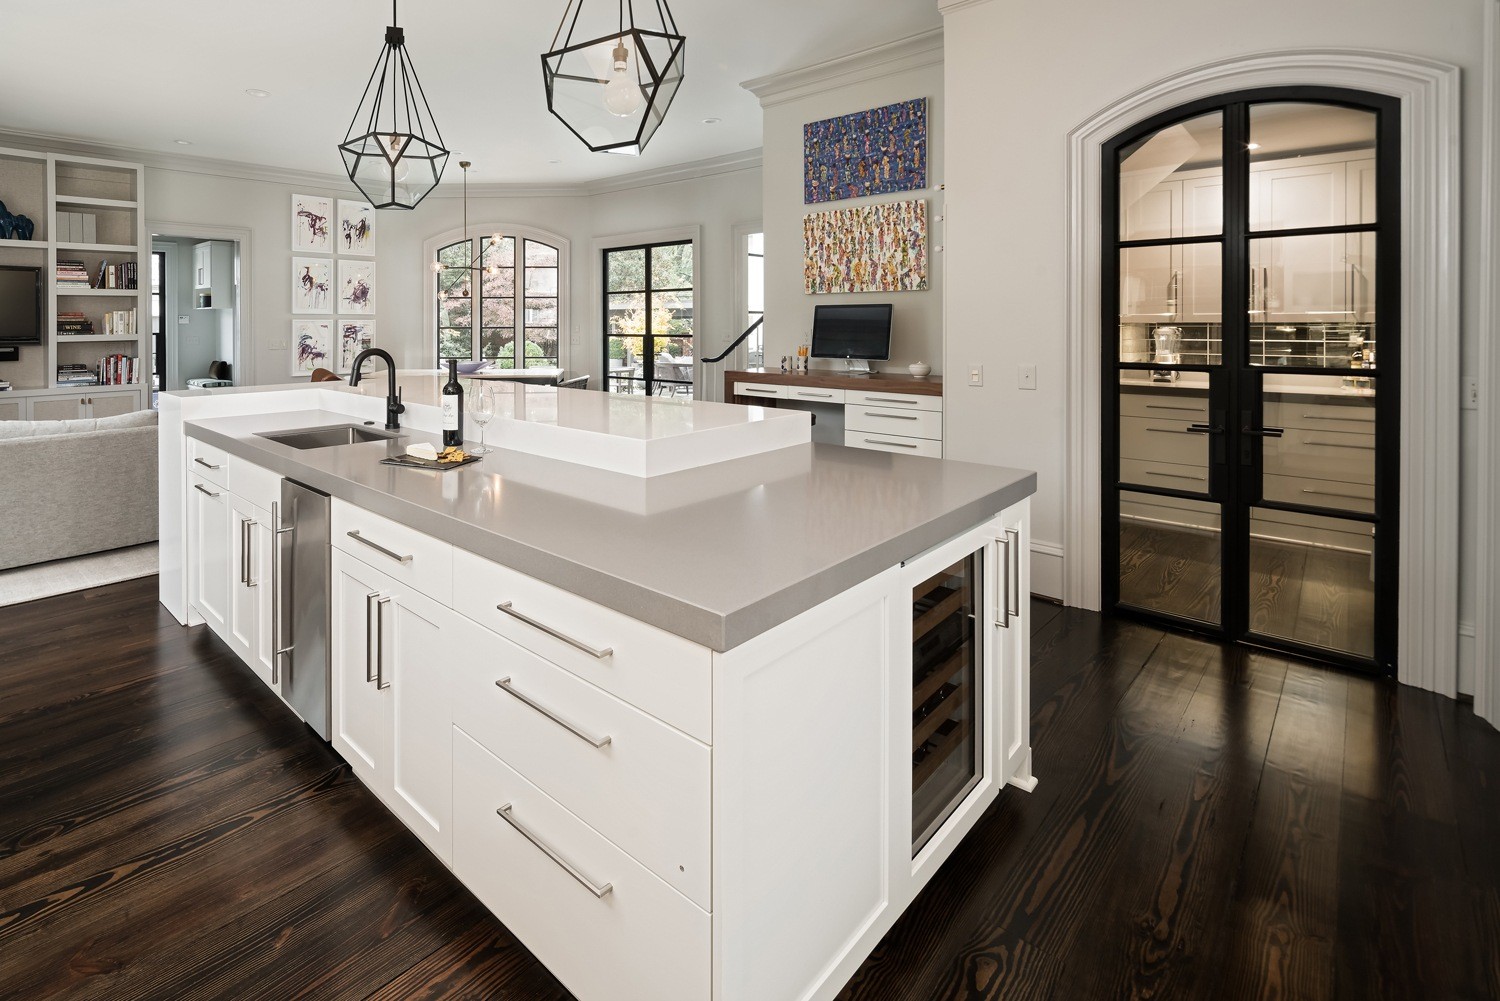
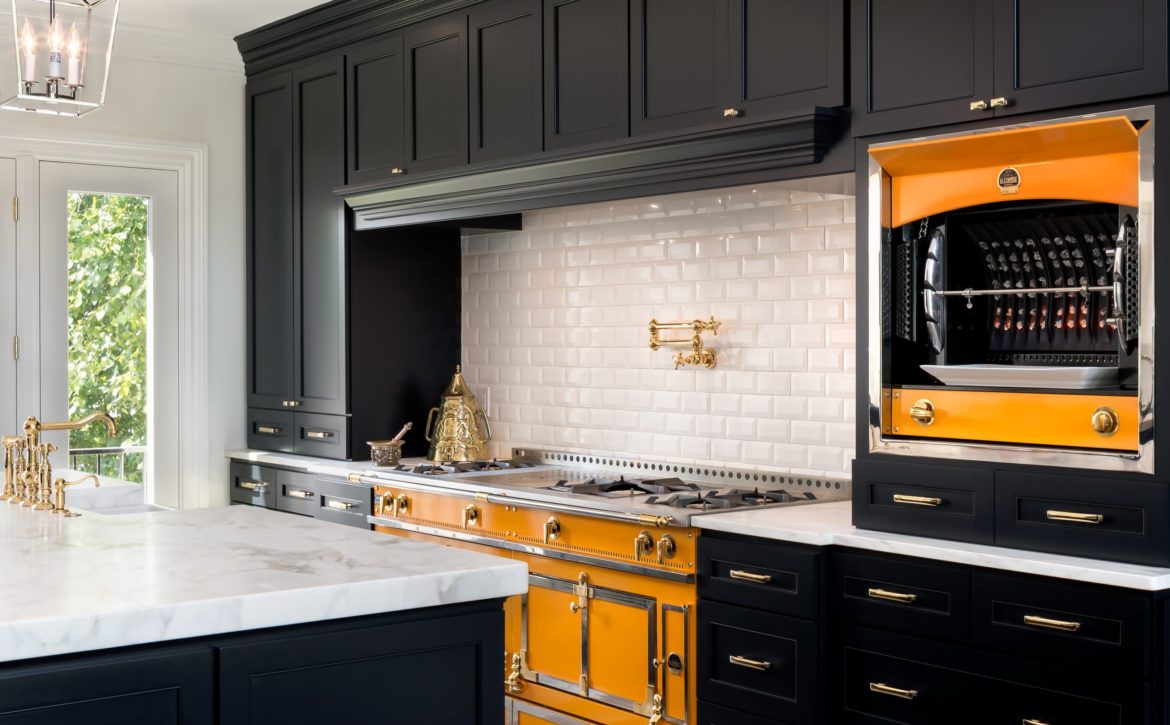
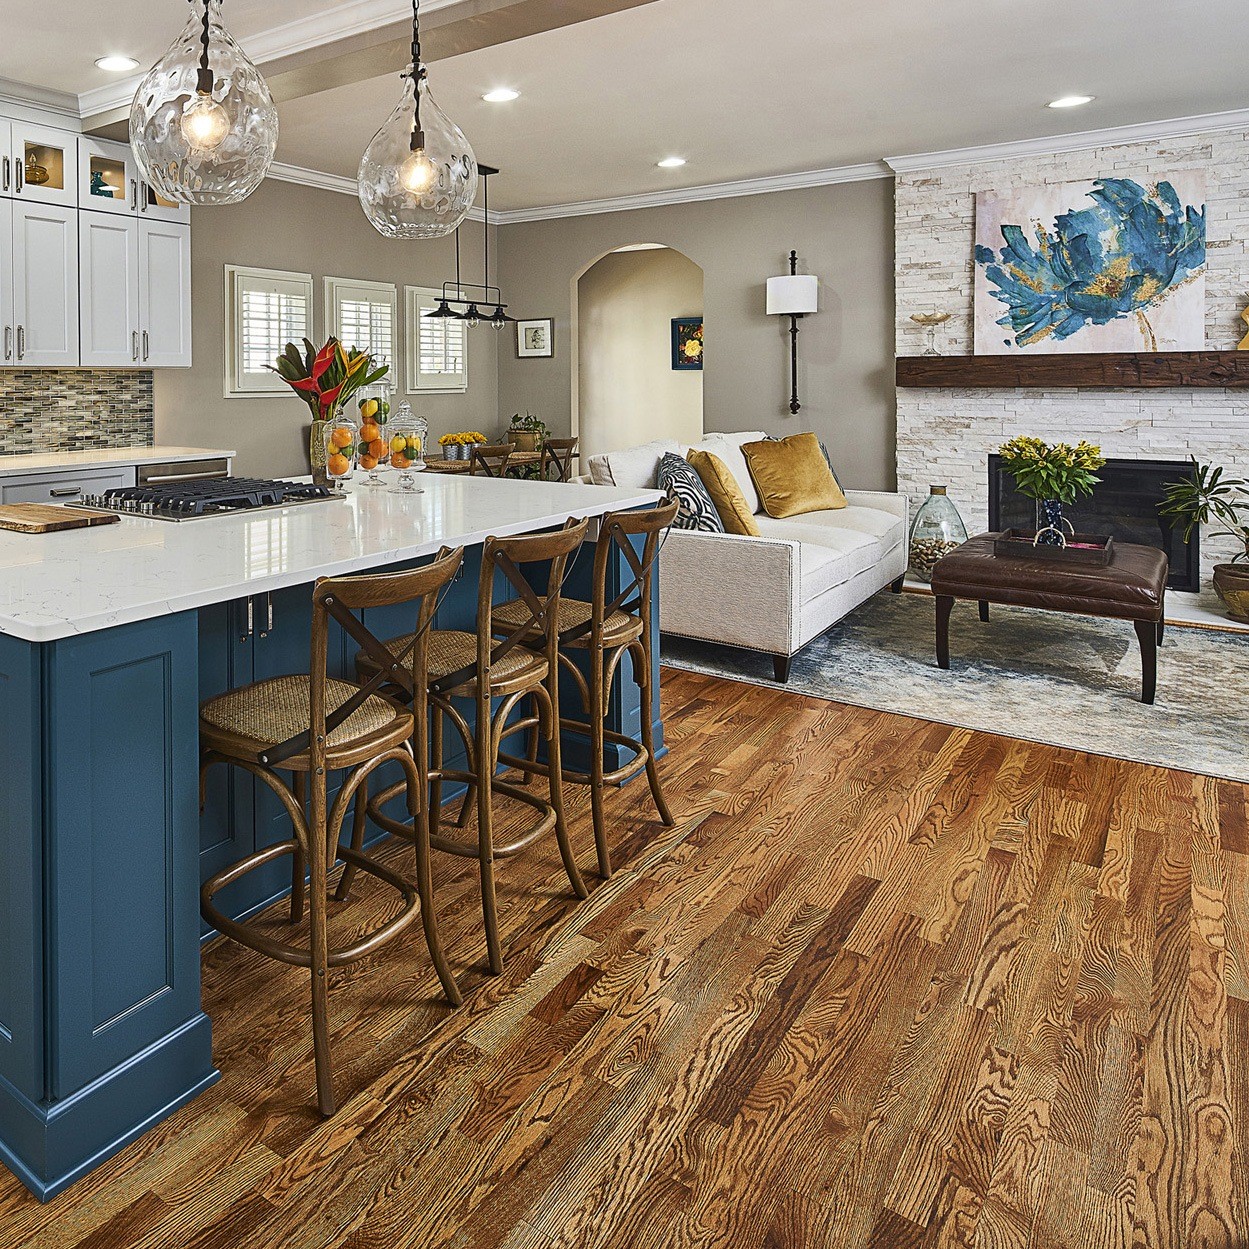
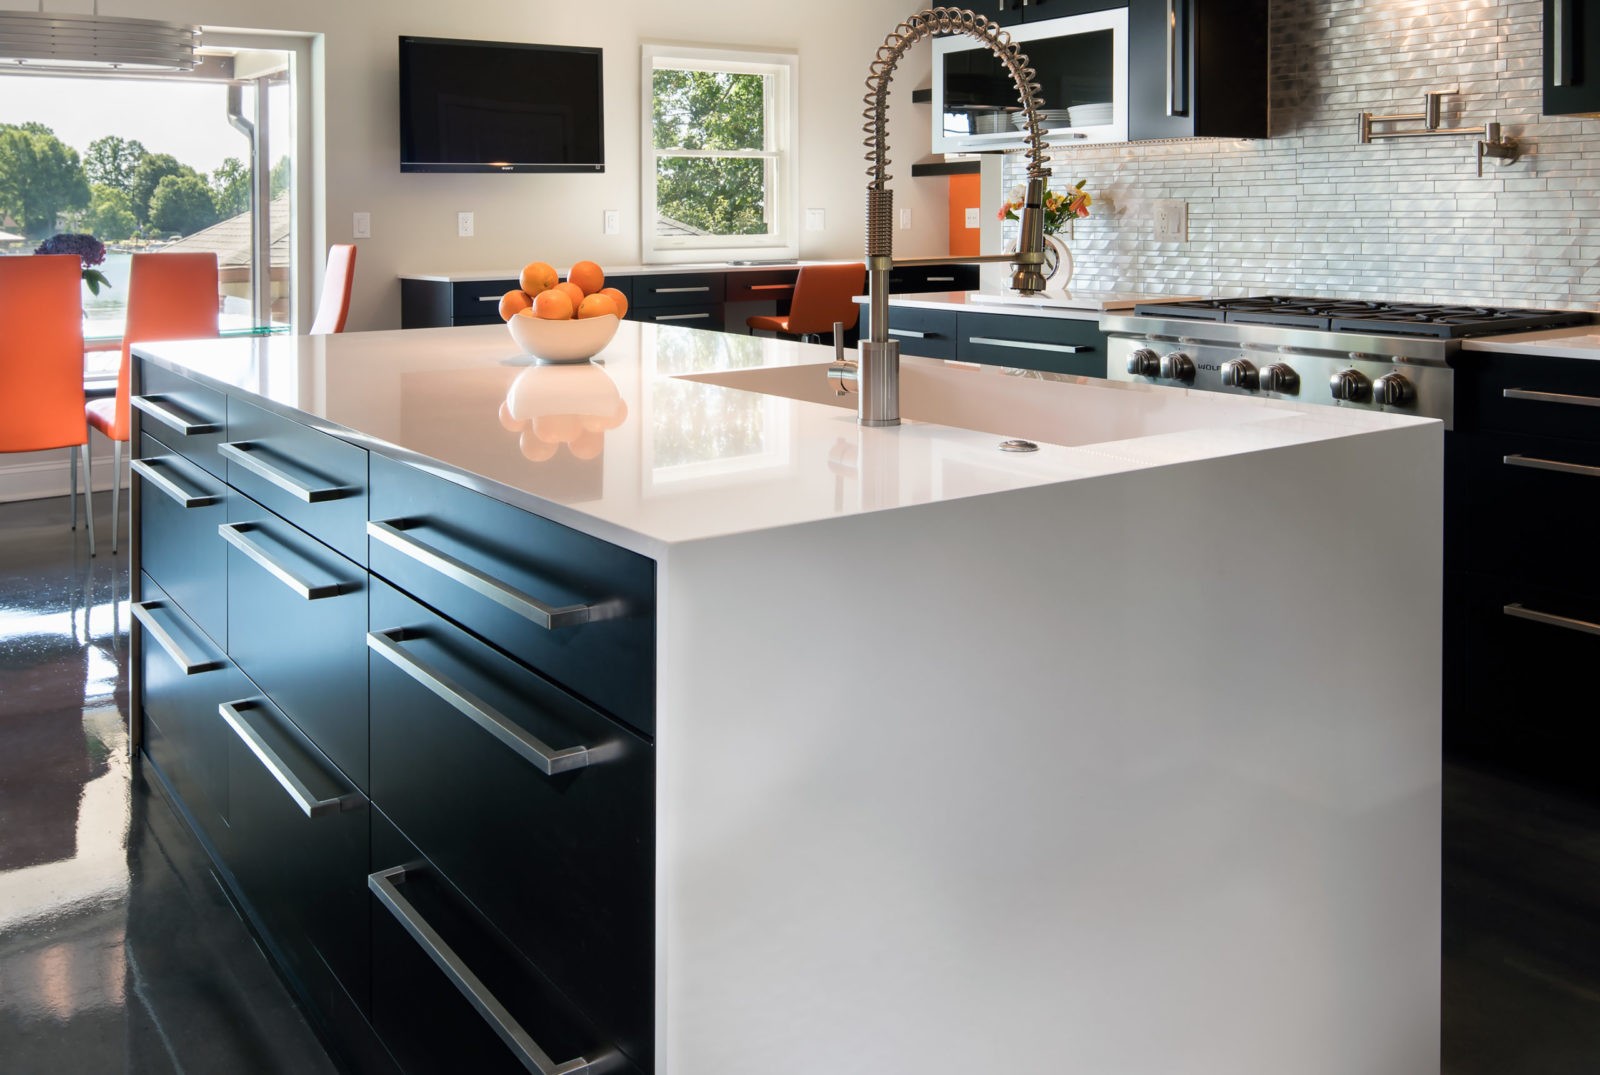
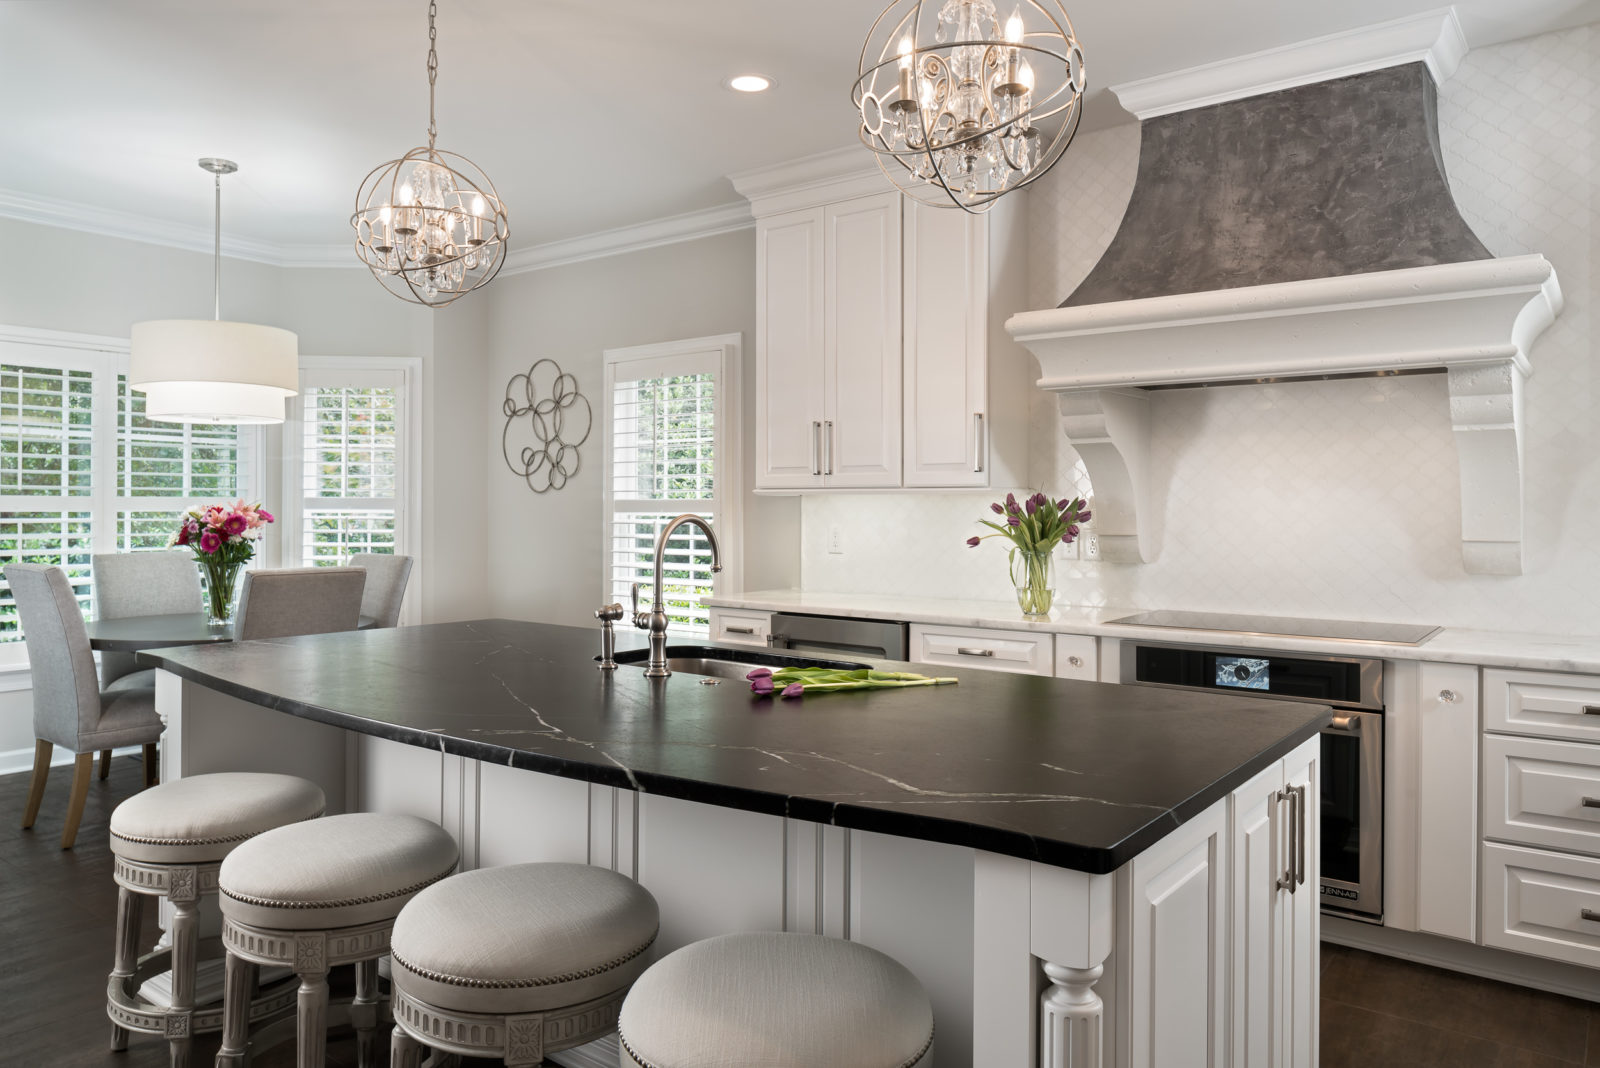
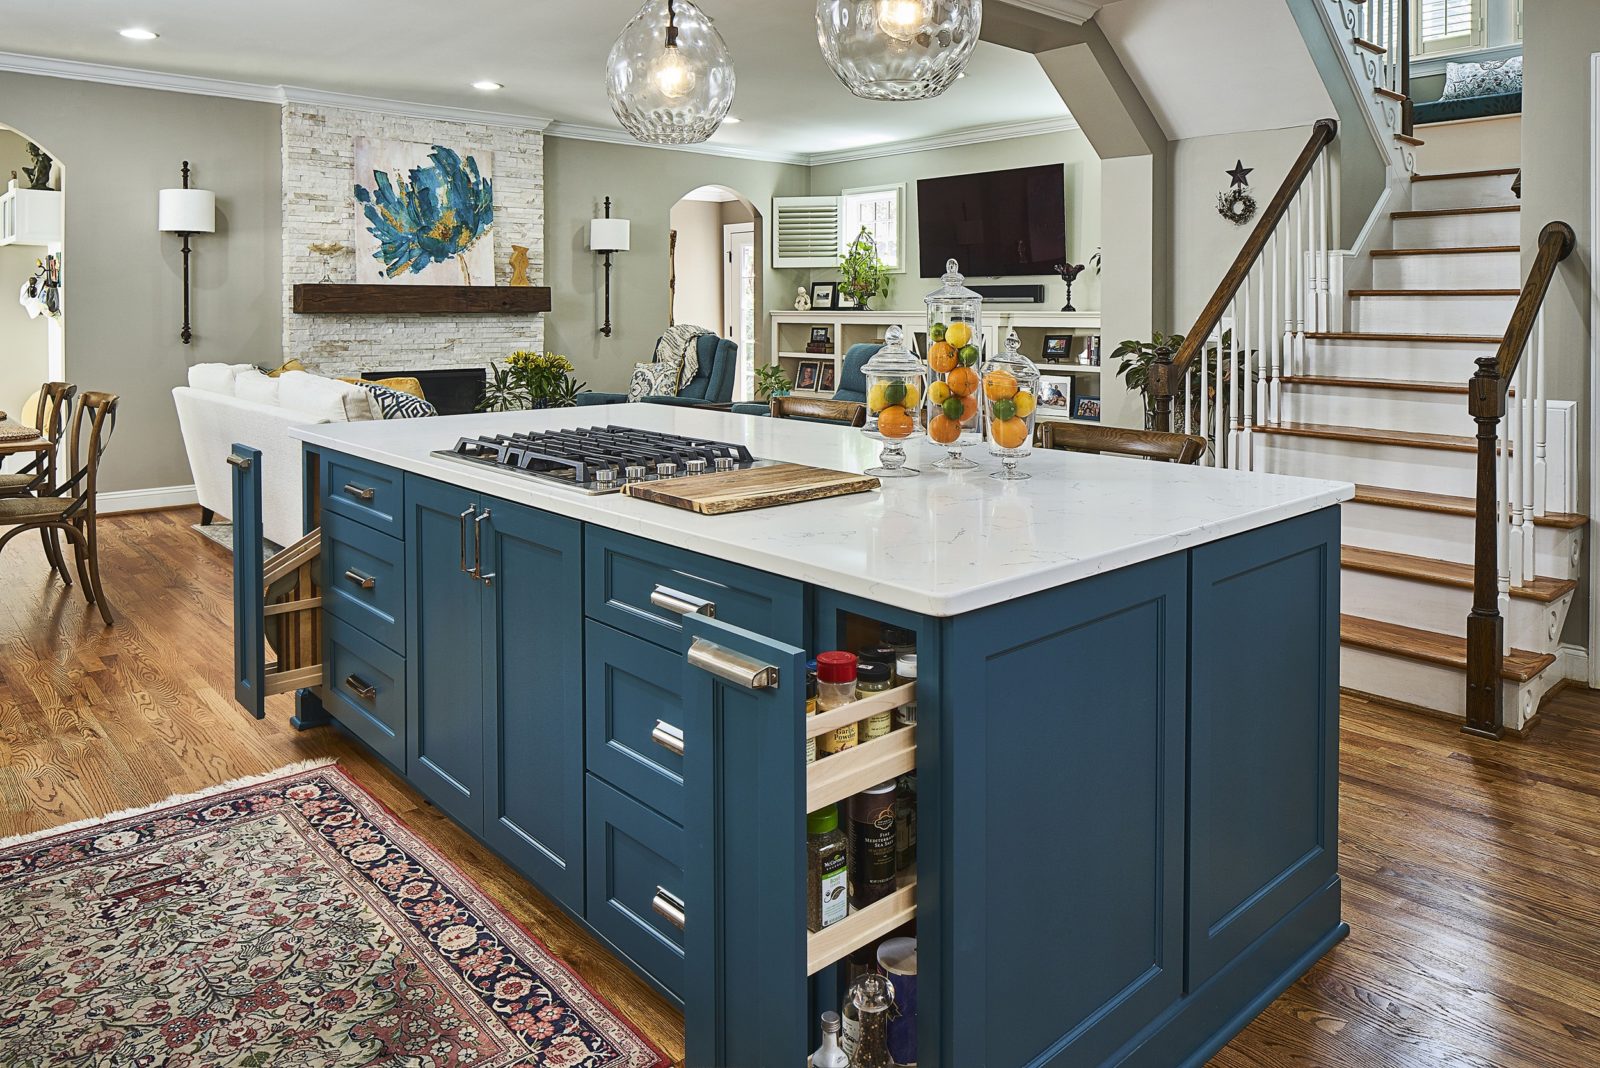
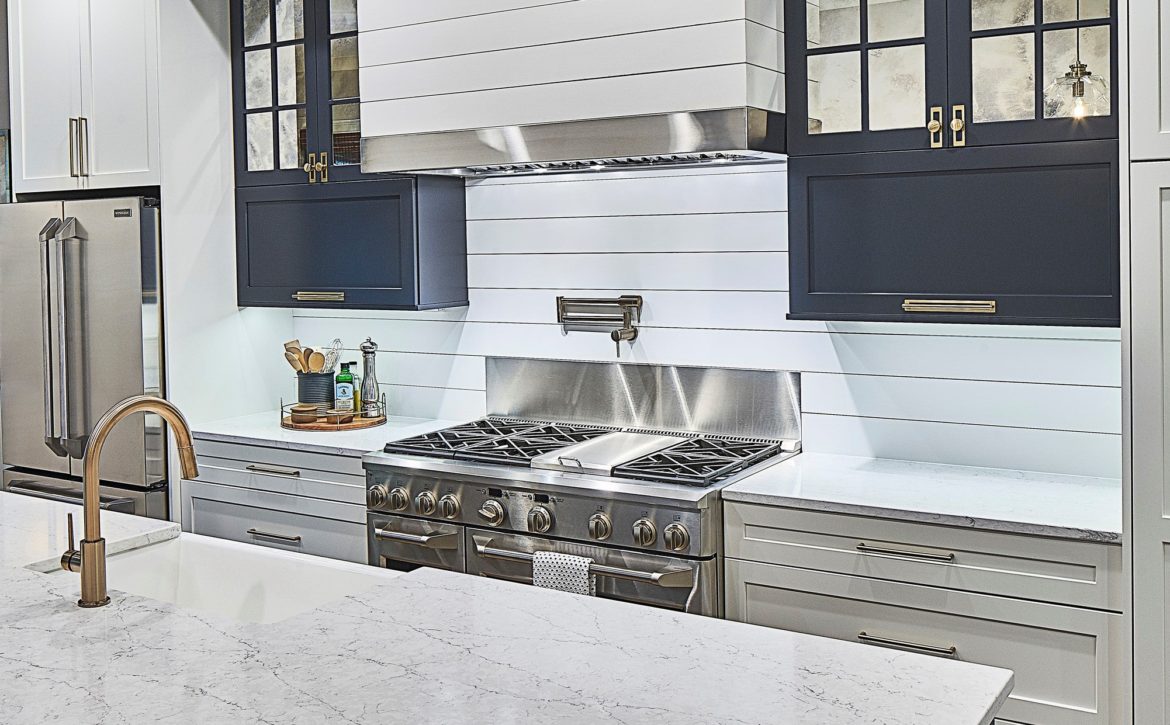
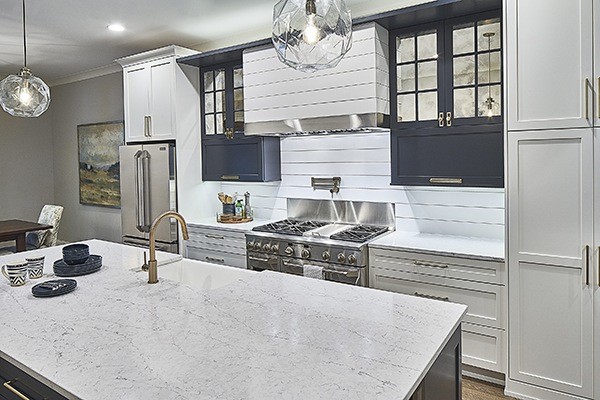
Mitered edges and a waterfall bar top give this contemporary kitchen island visual weight
Luckily, you don’t have to navigate the world of countertops alone. If you are not sure how to choose a countertop, we help our clients first figure out the material that would best suit their needs, and then offer suggestions and guidance regarding which sources would be most appropriate for their budget. The last thing you want to do is fall in love with an exotic slab and design the whole kitchen around it, only to find out that it’s three times what you can afford. Let’s give you the peace of mind that you’ve made the right choices in the remodeling process, and select the materials that are right for your home and your lifestyle.
Schedule a conversation to speak with one of our Project Developers about your remodeling goals and how to choose a countertop!


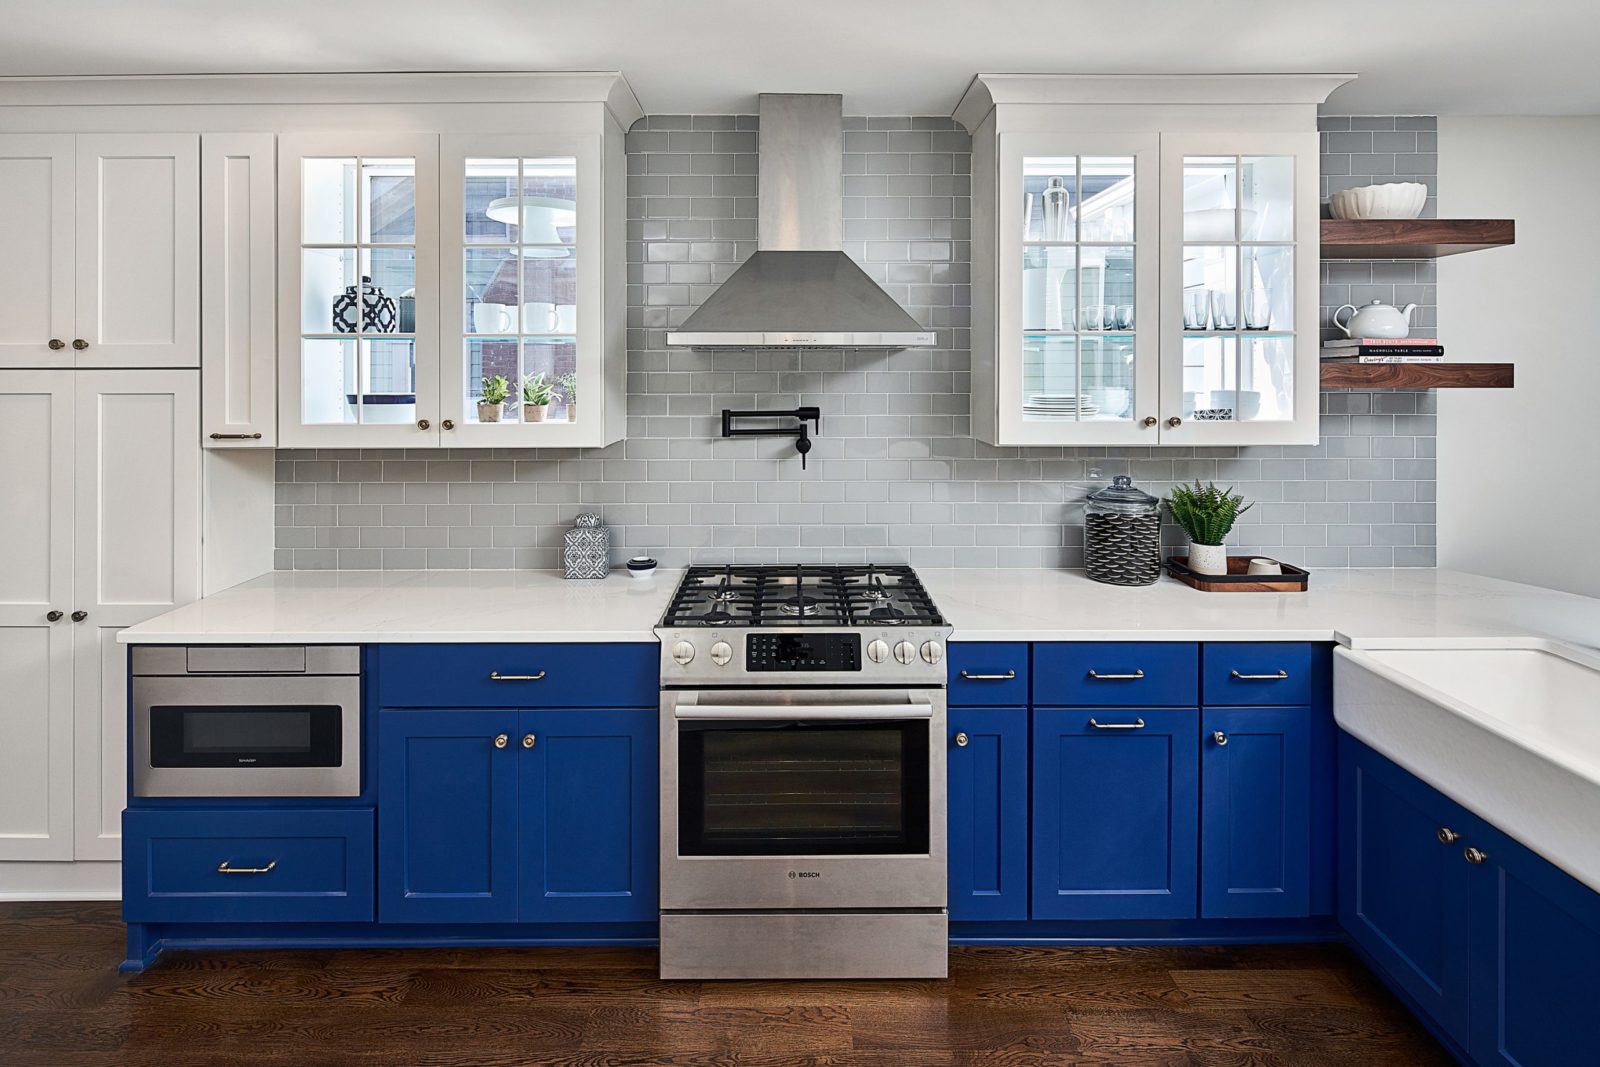


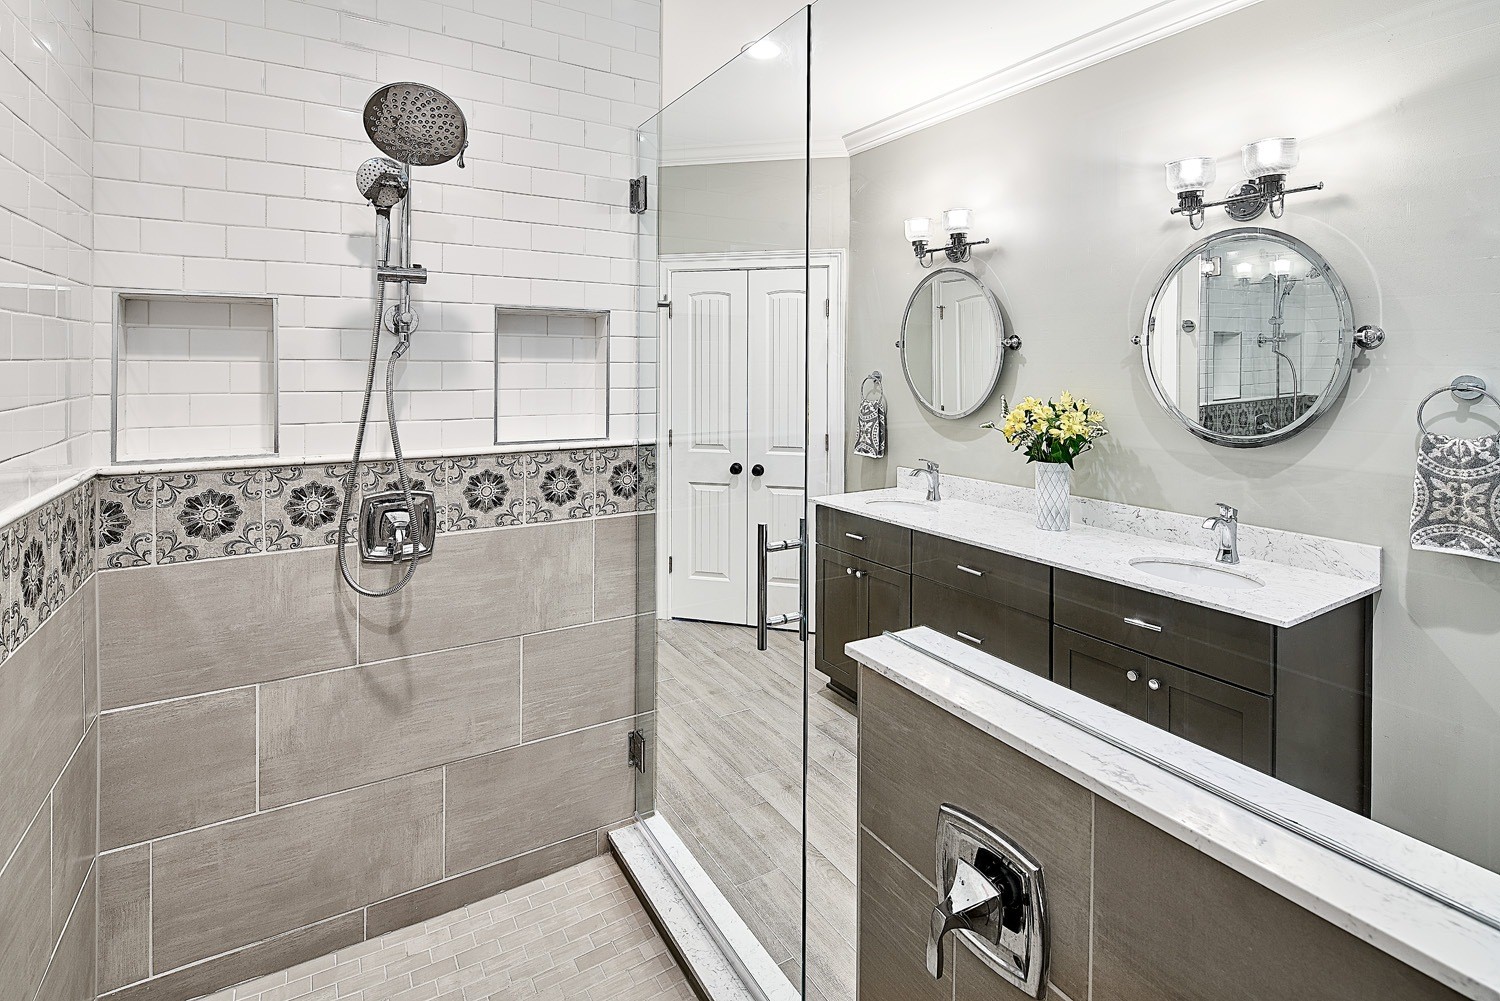 Tile design patterns are a great way to add personality to a remodeling project whether via temporary materials (think fabric and wall coverings) or permanent ones such as tile or even hardwood flooring. Patterns have the ability to elevate simple materials. Take subway tile for example. You can’t get much more basic than white 3 x 6″ ceramic tile. Set in a running bond pattern, subway tile backsplash will look traditional and understated, but take that same tile and set it in a herringbone pattern and suddenly it has more visual weight and movement.