Full-Service Design + Build
Kitchen
remodeling inCharlotte, NC
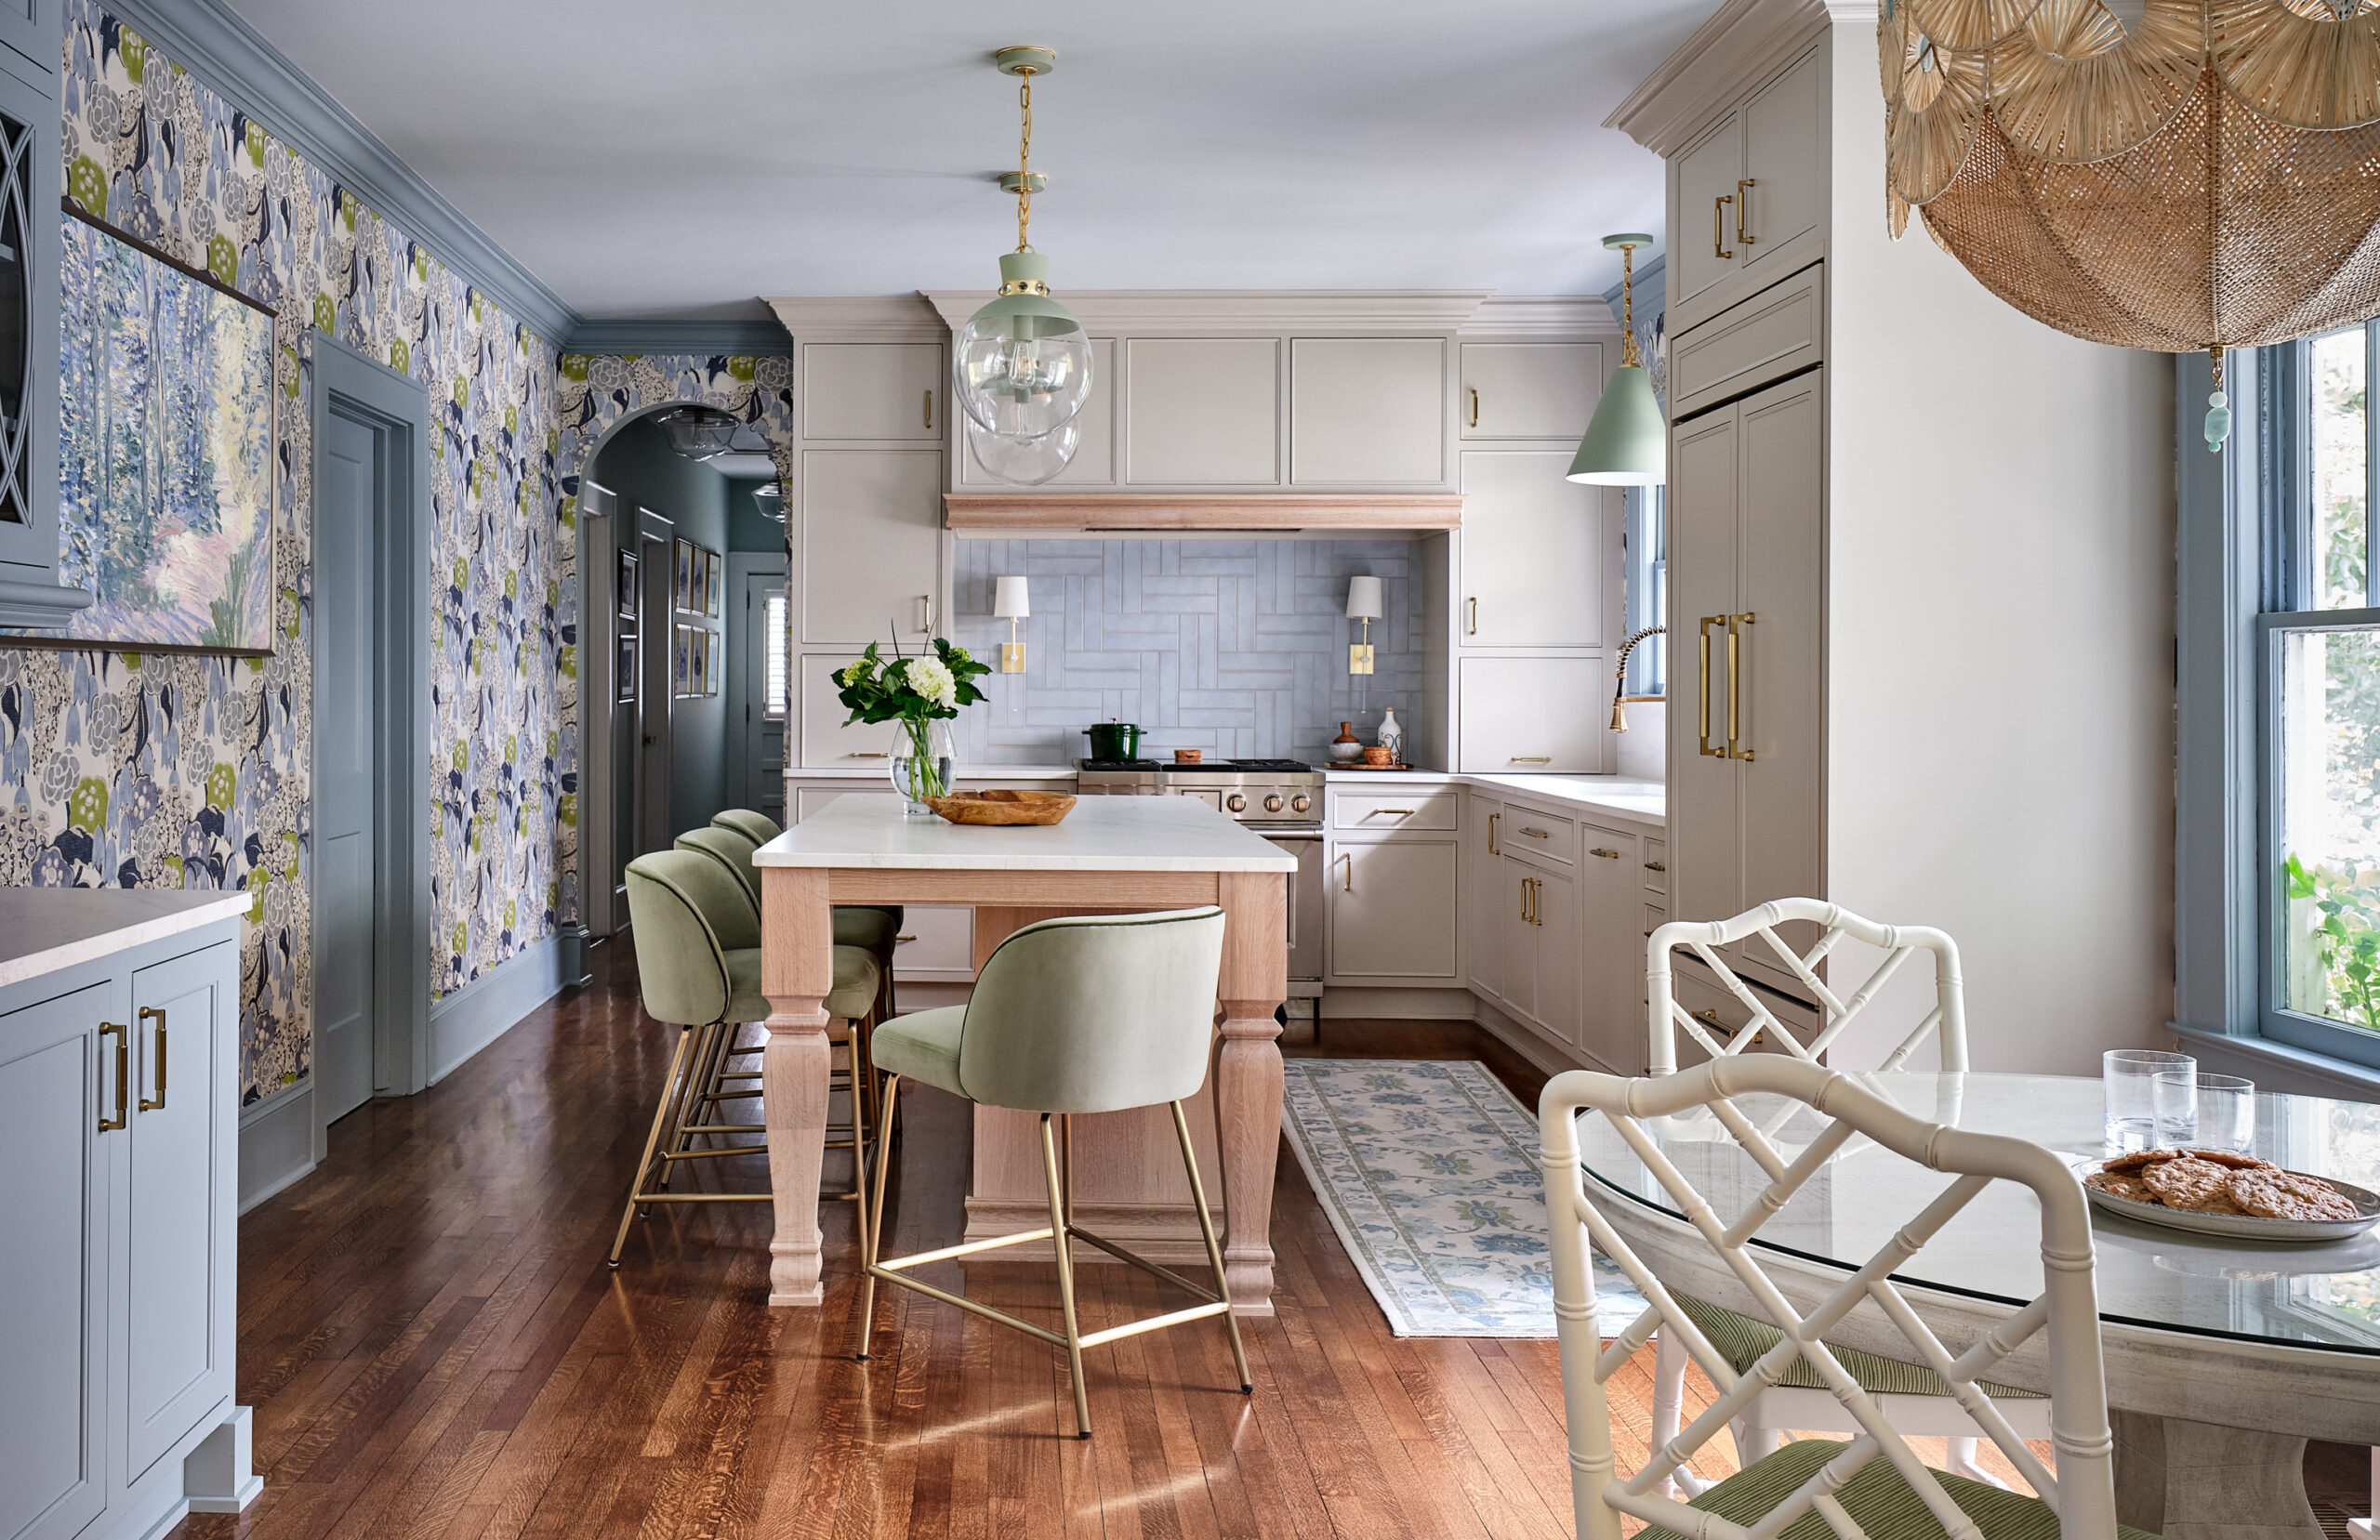
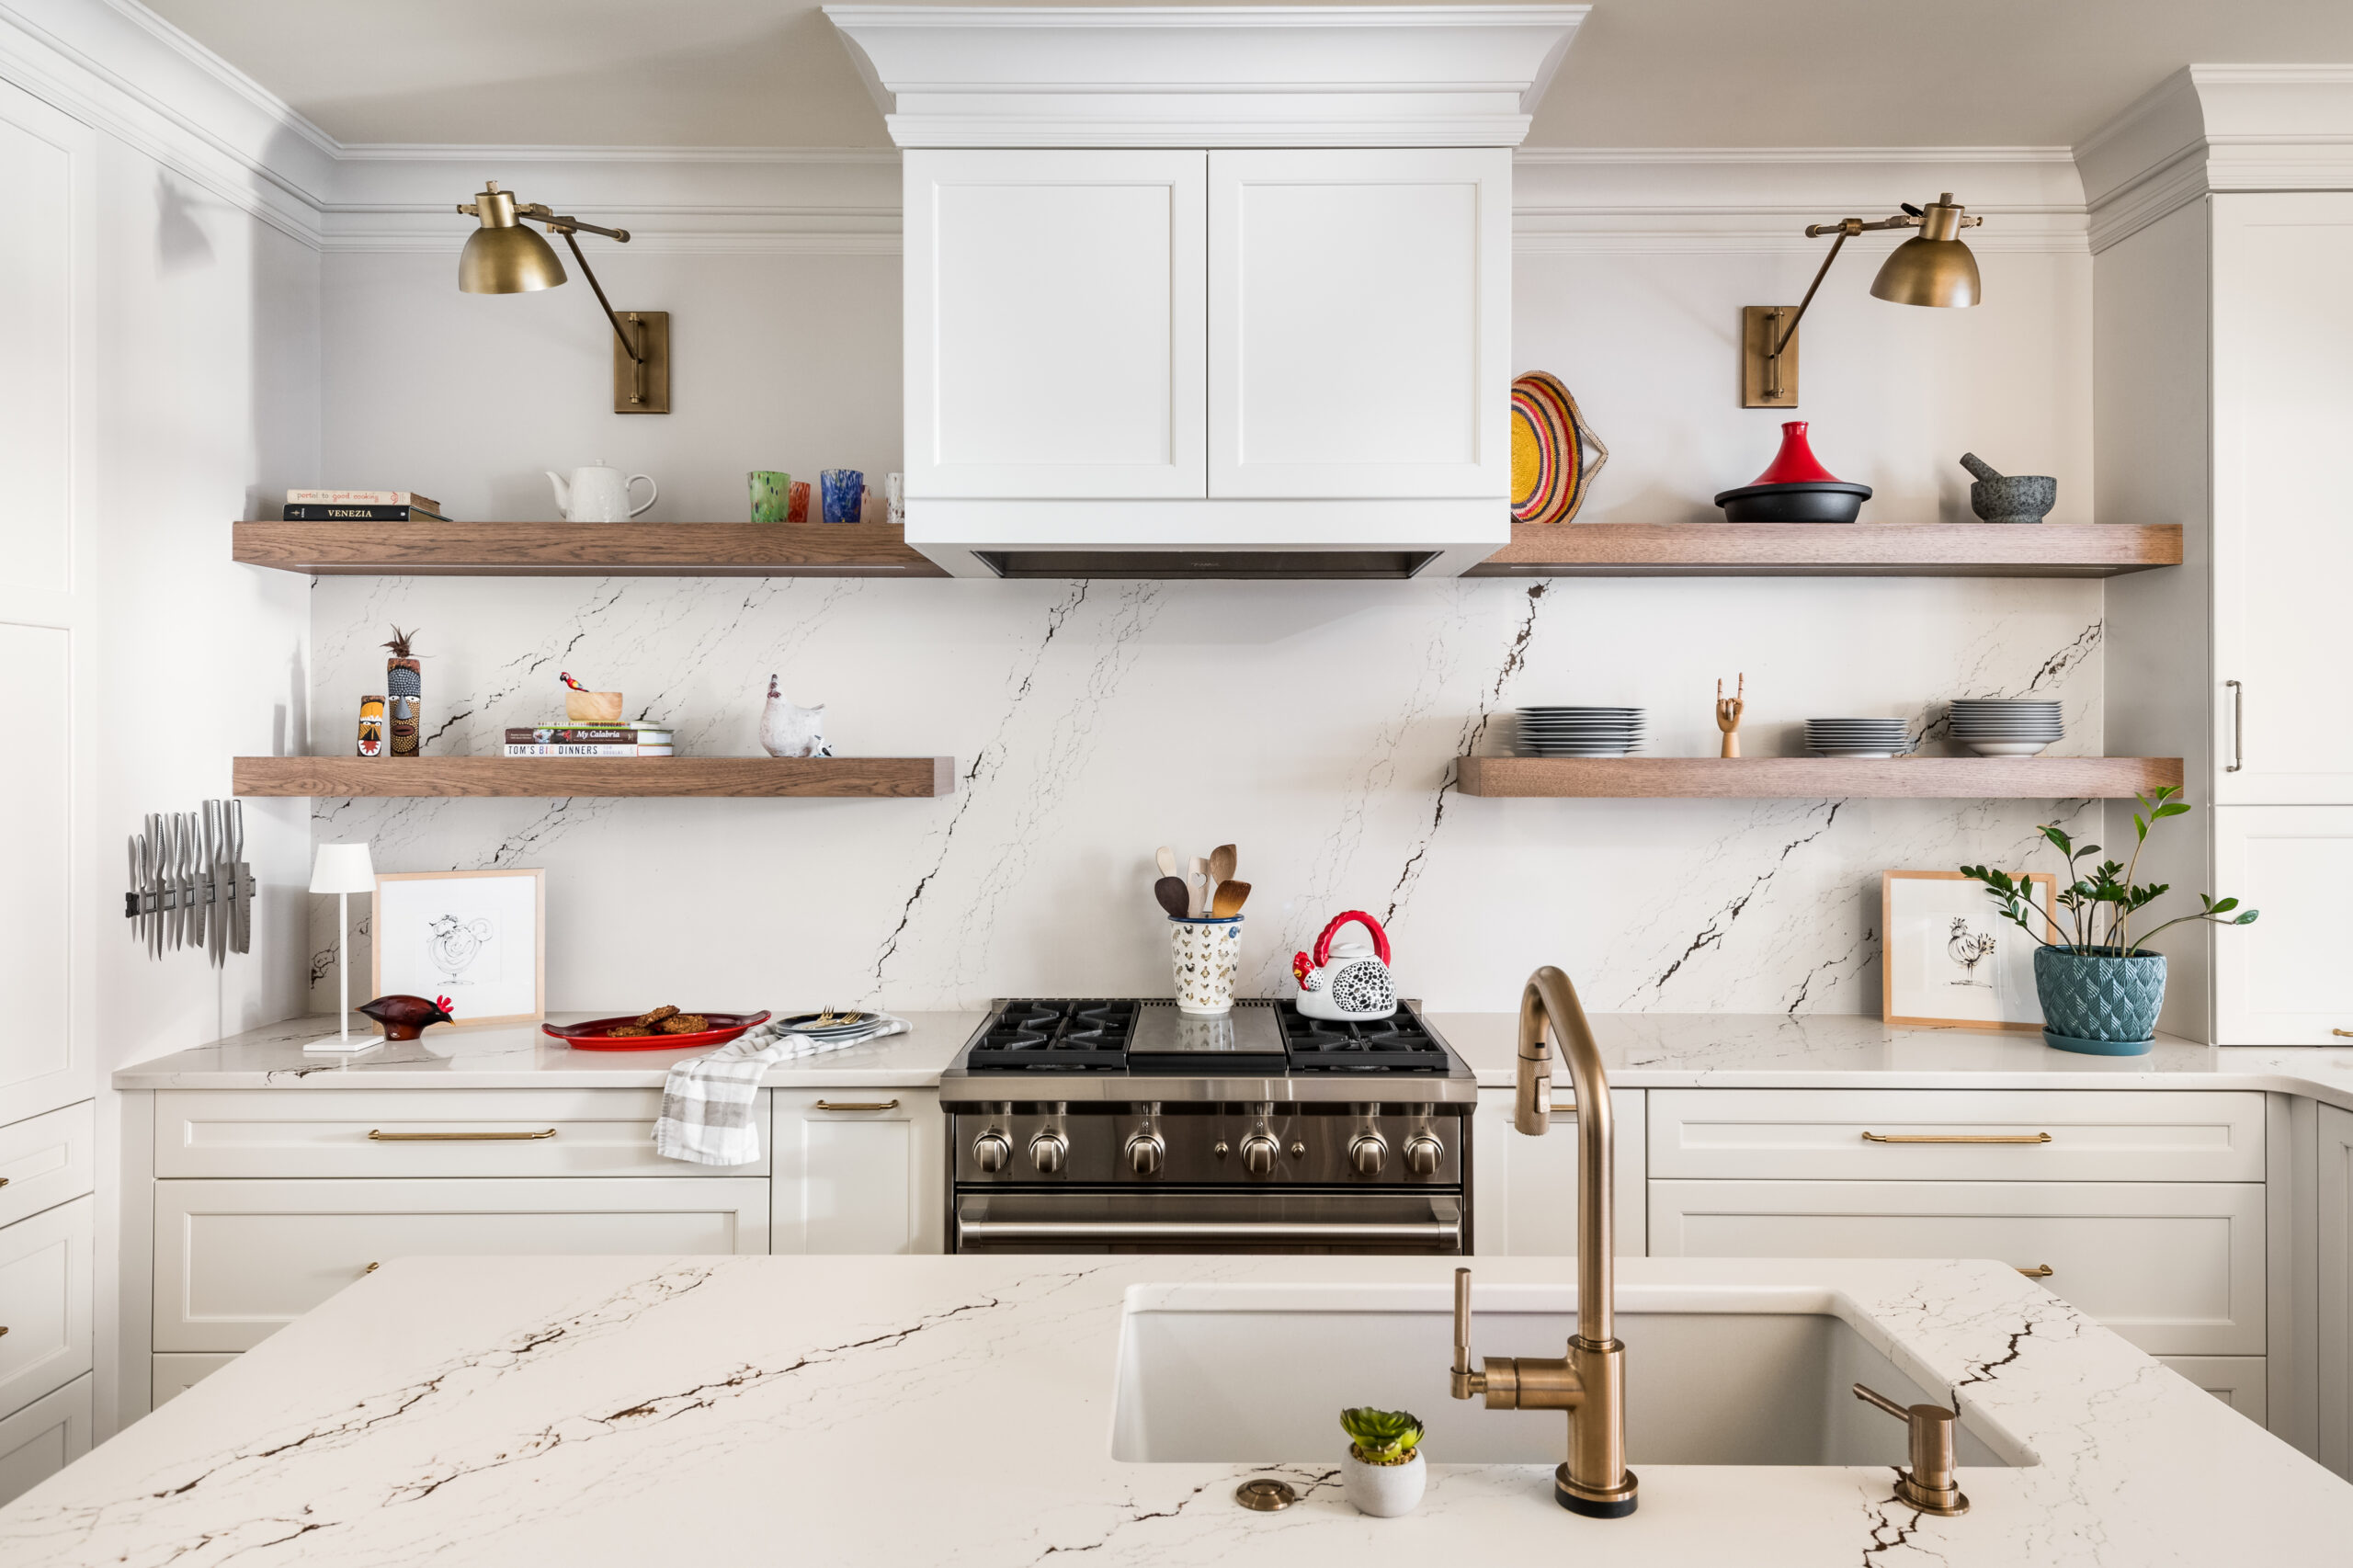
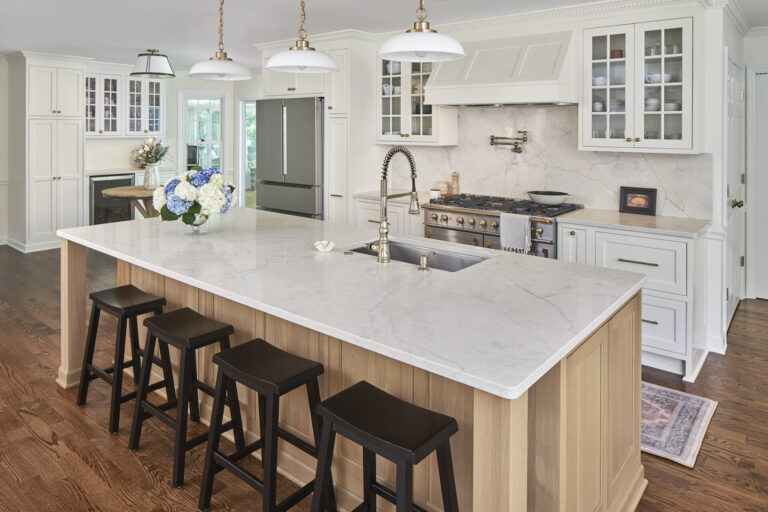
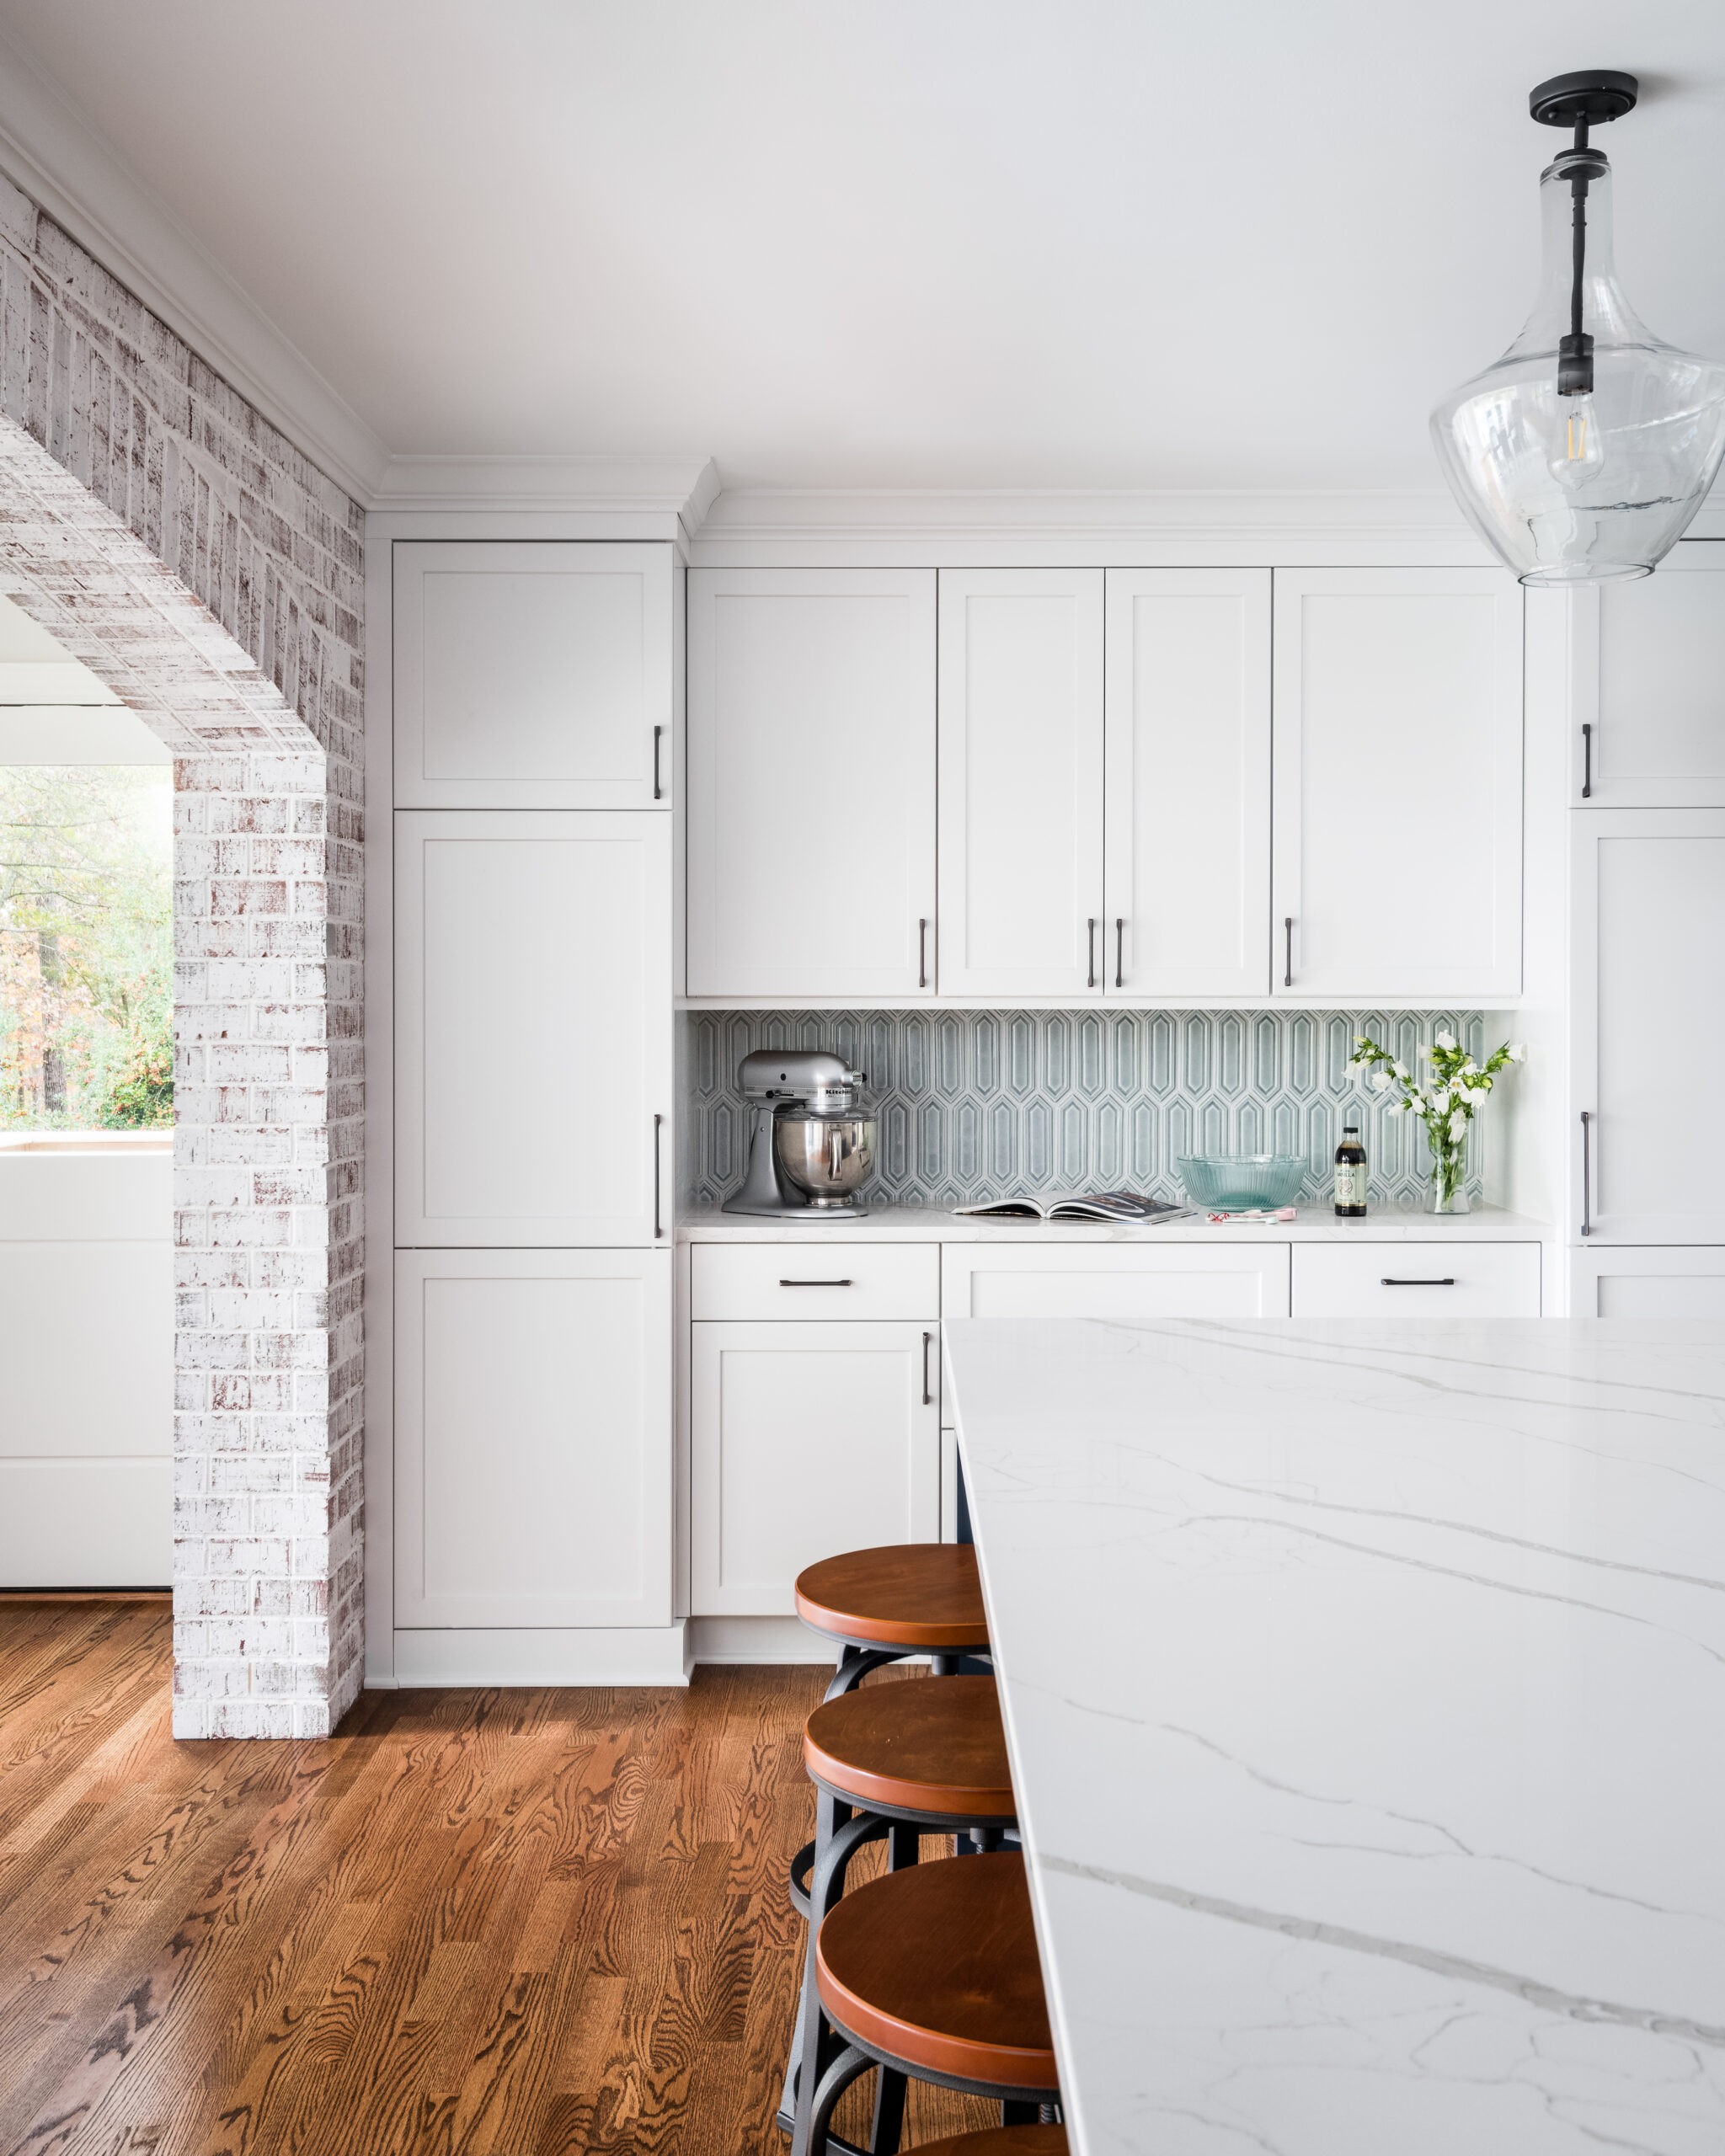
Ready for a full kitchen remodel? We transform cluttered, outdated kitchens into beautiful culinary powerhouses where everyone wants to gather. Specializing in kitchen remodeling in Charlotte, NC, ReVision Design + Build seamlessly blends functionality, style, and innovation to create a space tailored to your lifestyle.
The best forever homes are made — not bought — and it all starts with a thoughtfully designed kitchen.


")